 0
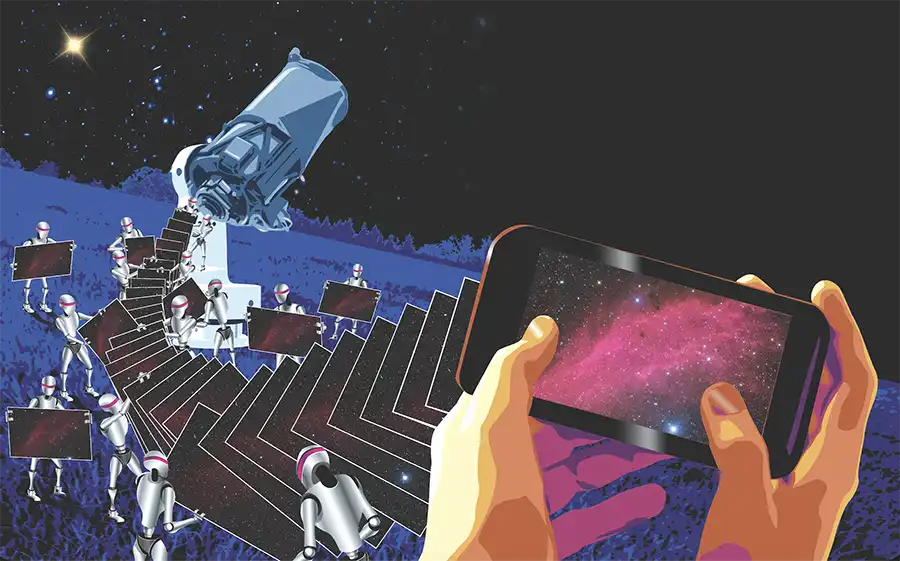
0Astrophotography with remotely operated telescopes is easier than you might think.
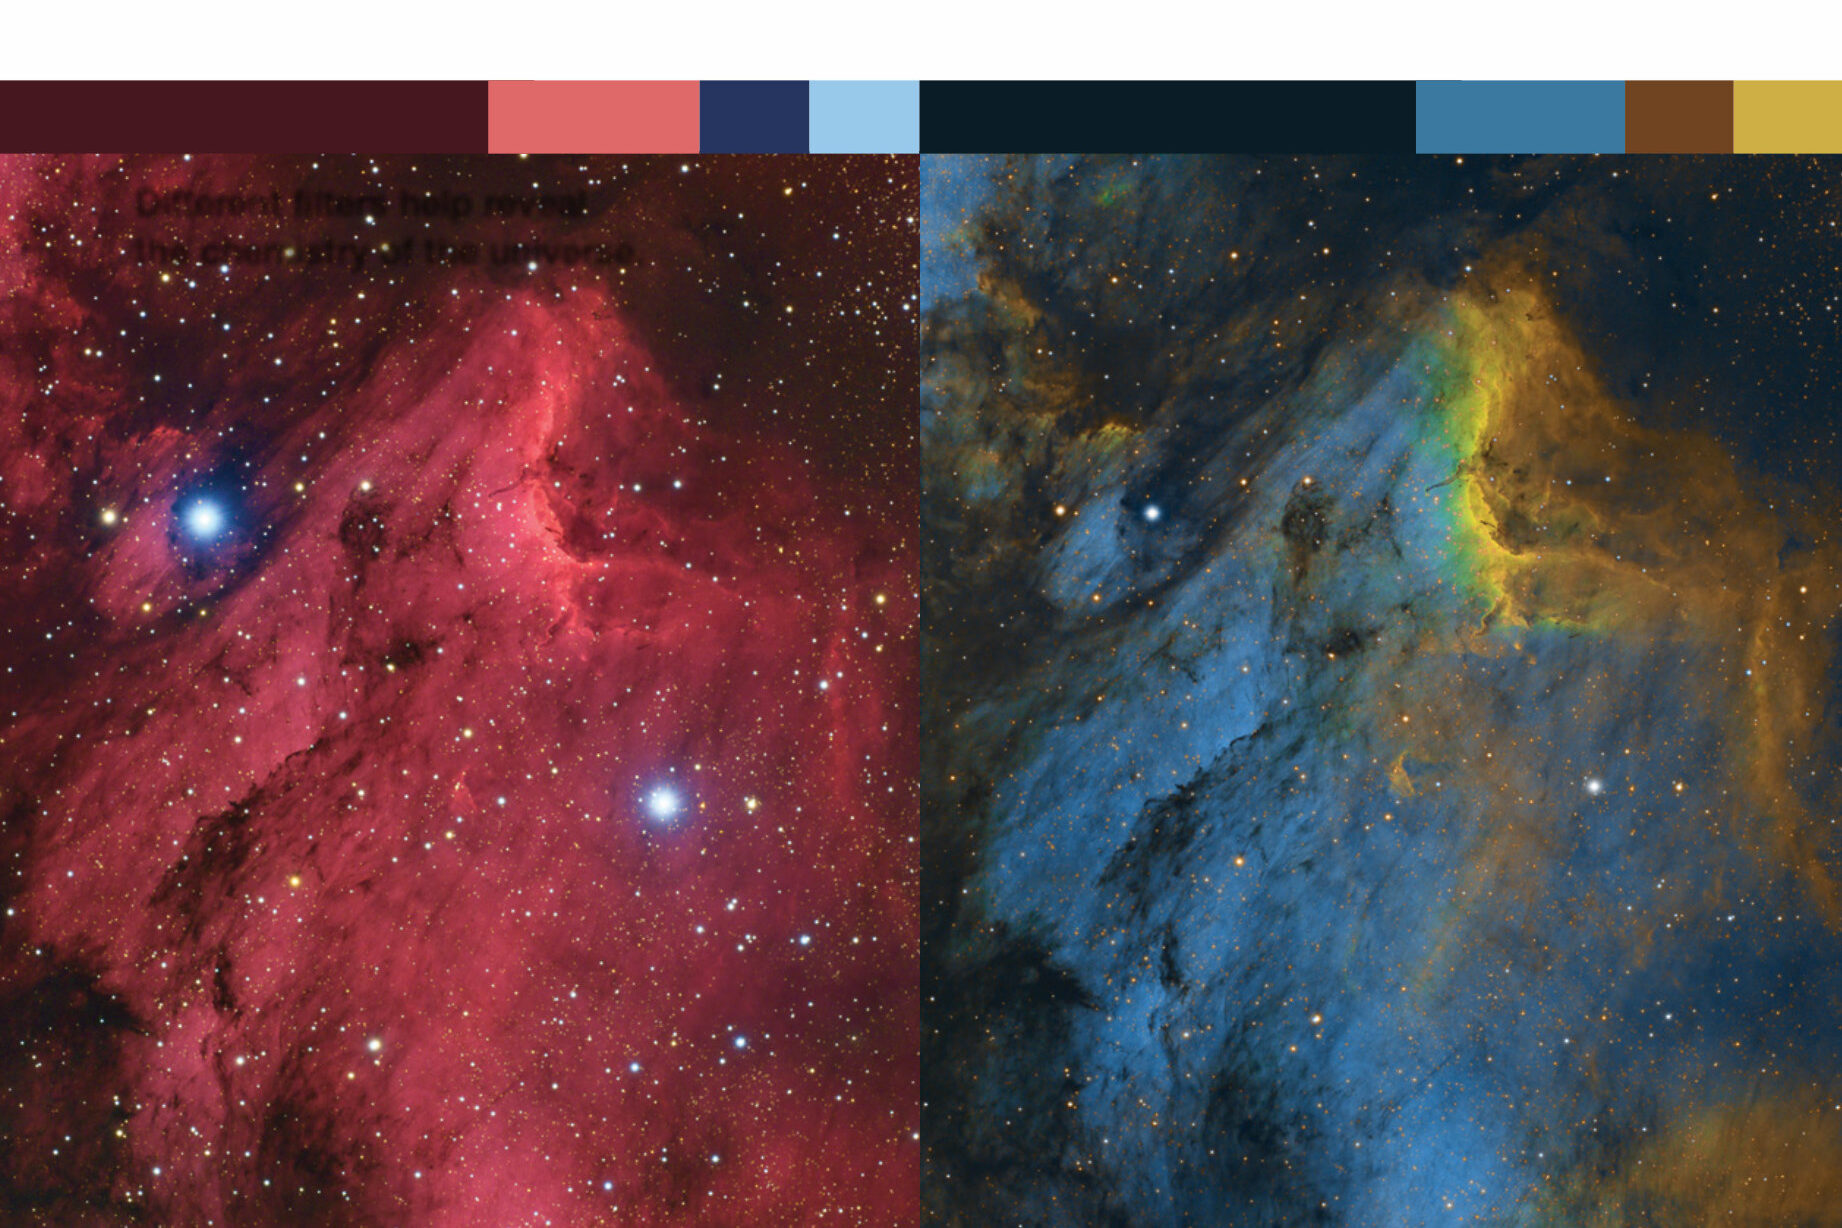
Deep-sky astrophotography has many challenges, particularly when practiced under less-than-ideal skies. The difficulty of imaging through light pollution and poor seeing limits the targets you can capture to bright objects often recorded at low resolution. Additionally, long spans of cloudy weather can further reduce your output.
Fortunately, astrophotographers no longer have to remain tethered to equipment in the backyard, nor be forced to travel far afield for clear, steady, dark skies. The accessibility of high-speed internet even in remote locations has fostered the growth of remote-imaging facilities, where astrophotographers willing to invest in the support and maintenance of their equipment can capture deep-sky wonders under some of the most pristine skies on Earth. Here are my suggestions for getting great results delivered to your computer each clear night.
Moving Away from the Scope
I began shooting the night sky when I retired to Naples, Florida, and I quickly began to experiment with ways I could remain comfortable indoors while my scope was dutifully recording targets outside. Over the course of several years, and with frequent telescope and camera upgrades, I managed to cobble together a system that could perform remotely, about 50 meters (165 feet) away.
But the humid, often cloudy skies of southern Florida, especially during the warm season, meant I had few opportunities to capture images. Additionally, the steady increase in the population of Naples brought with it the problem of brighter skies due to increased light pollution. Eventually, I wanted more usable and dark nights for imaging fainter targets. That’s when I came across a story on remote imaging by Tom Polakis. It immediately inspired me to find a new home for my scope.
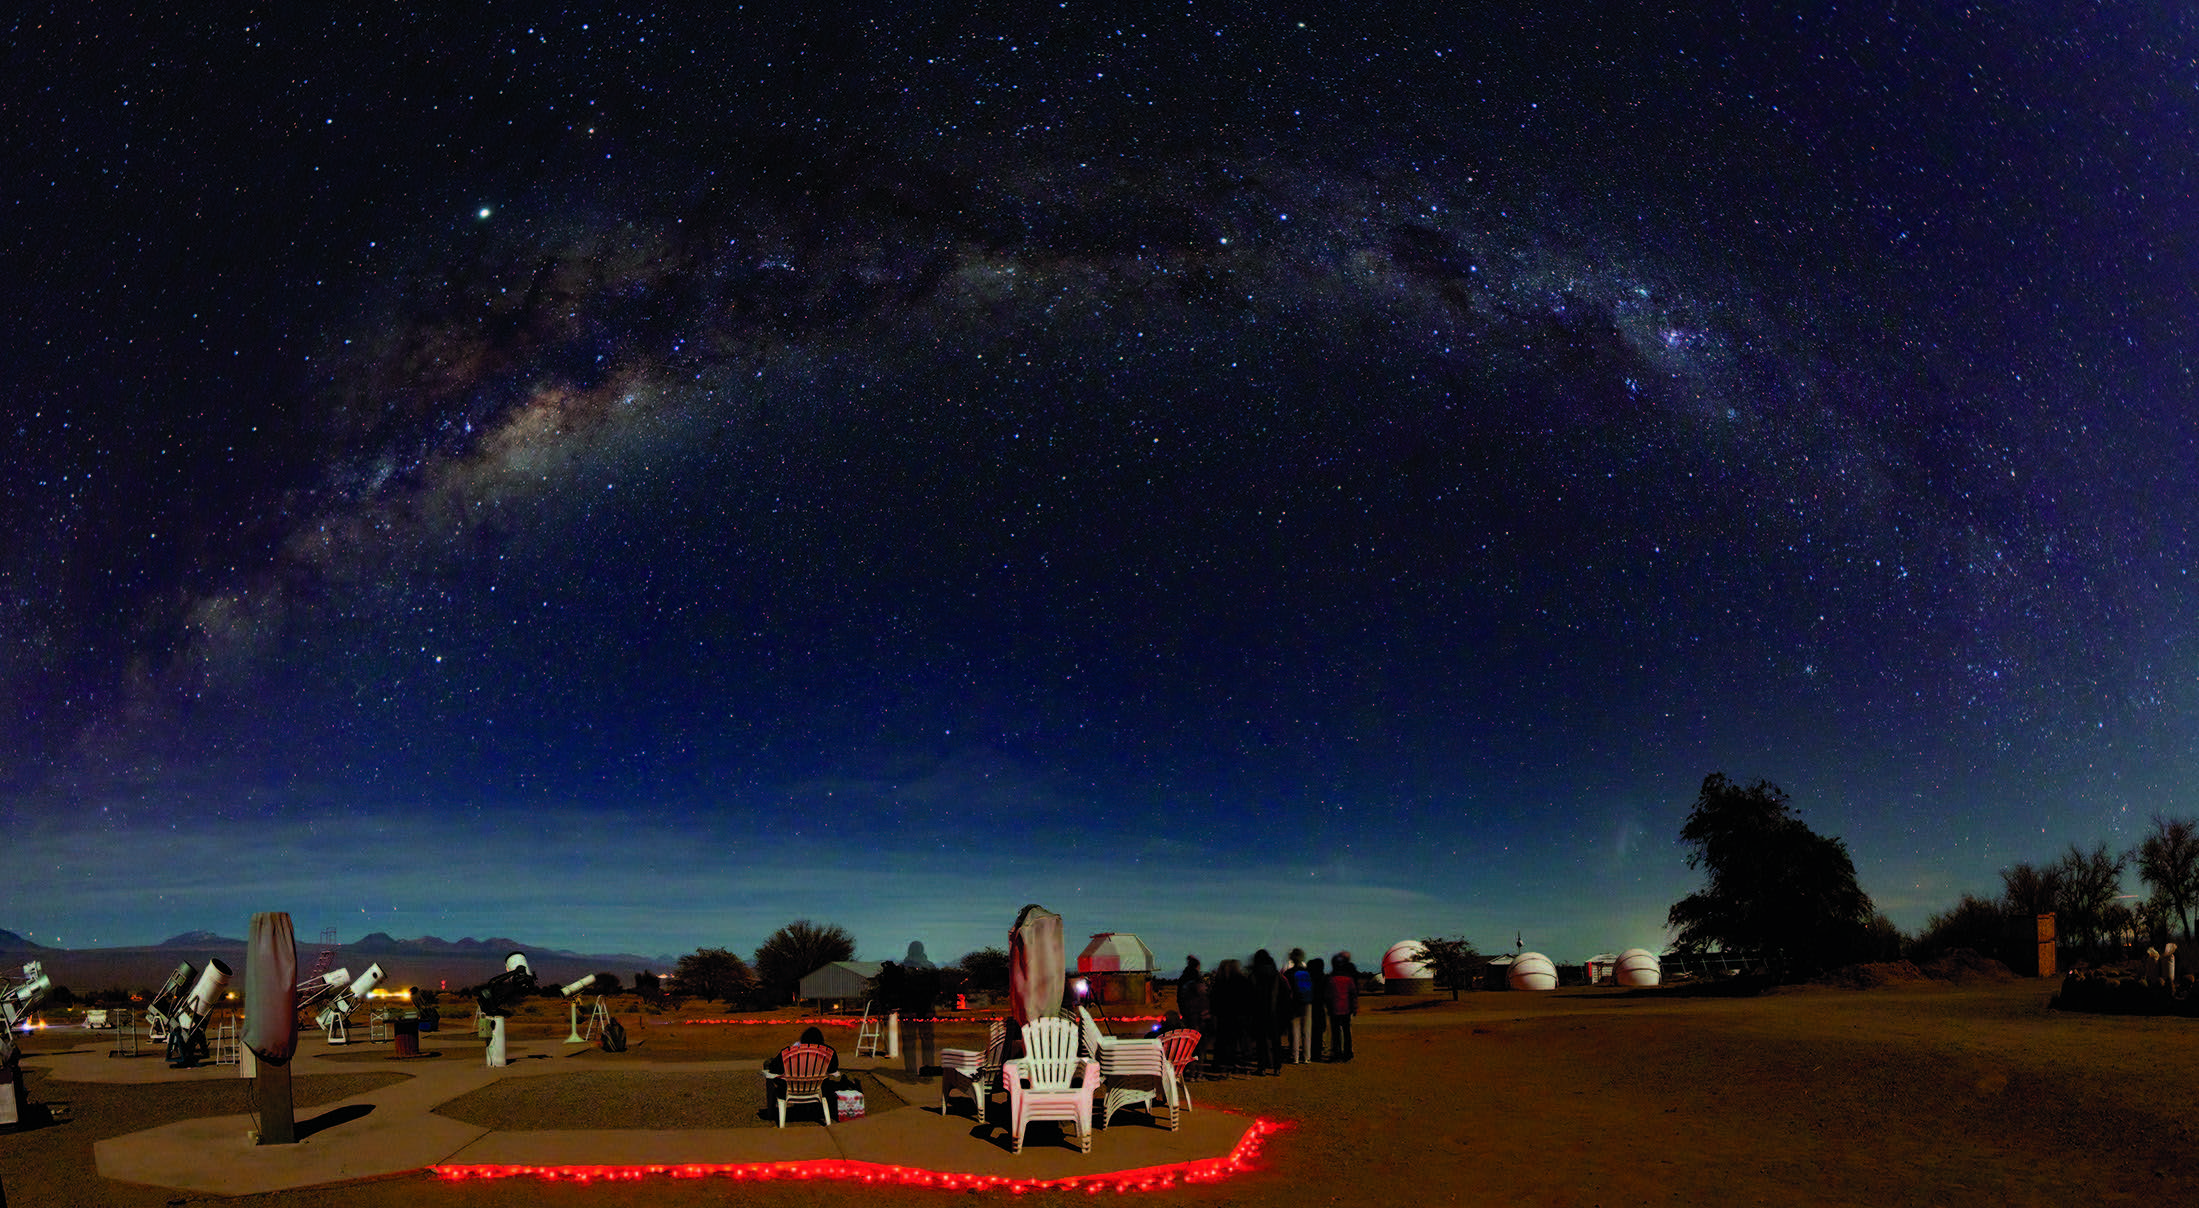
Tom’s article highlighted the benefits of locating one’s scope in the facilities of San Pedro de Atacama Celestial Explorations, or SPACE (spaceobs.com), owned and operated by Alain Maury and his wife, Alejandra. SPACE offers a wide range of services to the amateur astronomer of any experience level, including nightly sky tours and observing with a large array of permanently installed telescopes. They also offer onsite and online rental of several imaging setups, as well as host remote-imaging telescopes.
While there were several North American hosting facilities available at the time, the allure of imaging objects completely unavailable from the Northern Hemisphere was too great to resist, so I approached Maury about hosting my equipment. Unfortunately, there were no spots available then, so I bided my time on an informal waiting list. In 2015, a spot opened up, and I began the transition to accomplishing truly remote astrophotography.
More than Just a Telescope
While I had acquired a lot of experience imaging from across my yard, truly remote-controlled astrophotography required several upgrades to my equipment for it to function semi-autonomously from thousands of kilometers away. If you decide to take the plunge, it’s likely you’ll have to consider new gear, too.
A reliable, heavy-duty telescope mount is without a doubt the number-one priority. Under a frequently clear sky, you’re going to use your telescope far more than you ever did at home. As a result, you want to be sure your mount is very well built and can reliably point to your desired targets. Although I had a pretty good mount already (a Takahashi EM400), it didn’t include encoders that read out exactly what coordinates the telescope is aiming at. Some mounts don’t need encoders to do this, but with or without, the mount needs to include a “home” or “park” position. This is a repeatable starting position that the telescope returns to at the end of an imaging session. A horizontal home position is especially helpful when housing your instrument in a rolloff-roof observatory so that the roof doesn’t collide with your telescope when shutting down for the night (or in the event of a weather emergency). Some mounts let you set the home position yourself.
Unless your mount is a fork version that can track across the entire sky unimpeded, or an alt-azimuth model with an integrated field de-rotator, it will need to be able to perform a meridian flip. This action is required when tracking objects as they cross the meridian — the imaginary line that divides the eastern and western halves of the sky. Your mount needs to rotate its payload to avoid crashing into the telescope pier or tripod while continuing to track your target.
I upgraded my mount to an AstroSysteme Austria (ASA) DDM-85 direct-drive mount with high-resolution encoders, guaranteeing my control software always knows where my telescope is pointing with arcsecond accuracy. Other great alternatives are available from Astro-Physics (astro-physics.com), PlaneWave Instruments (planewave.com), Software Bisque (bisque.com), 10Micron (10micron.eu), and several others.
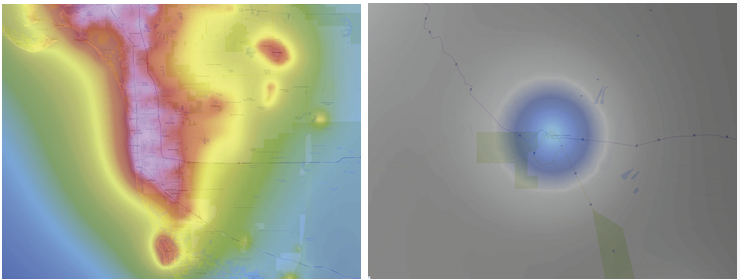
lightpollutionmap.info
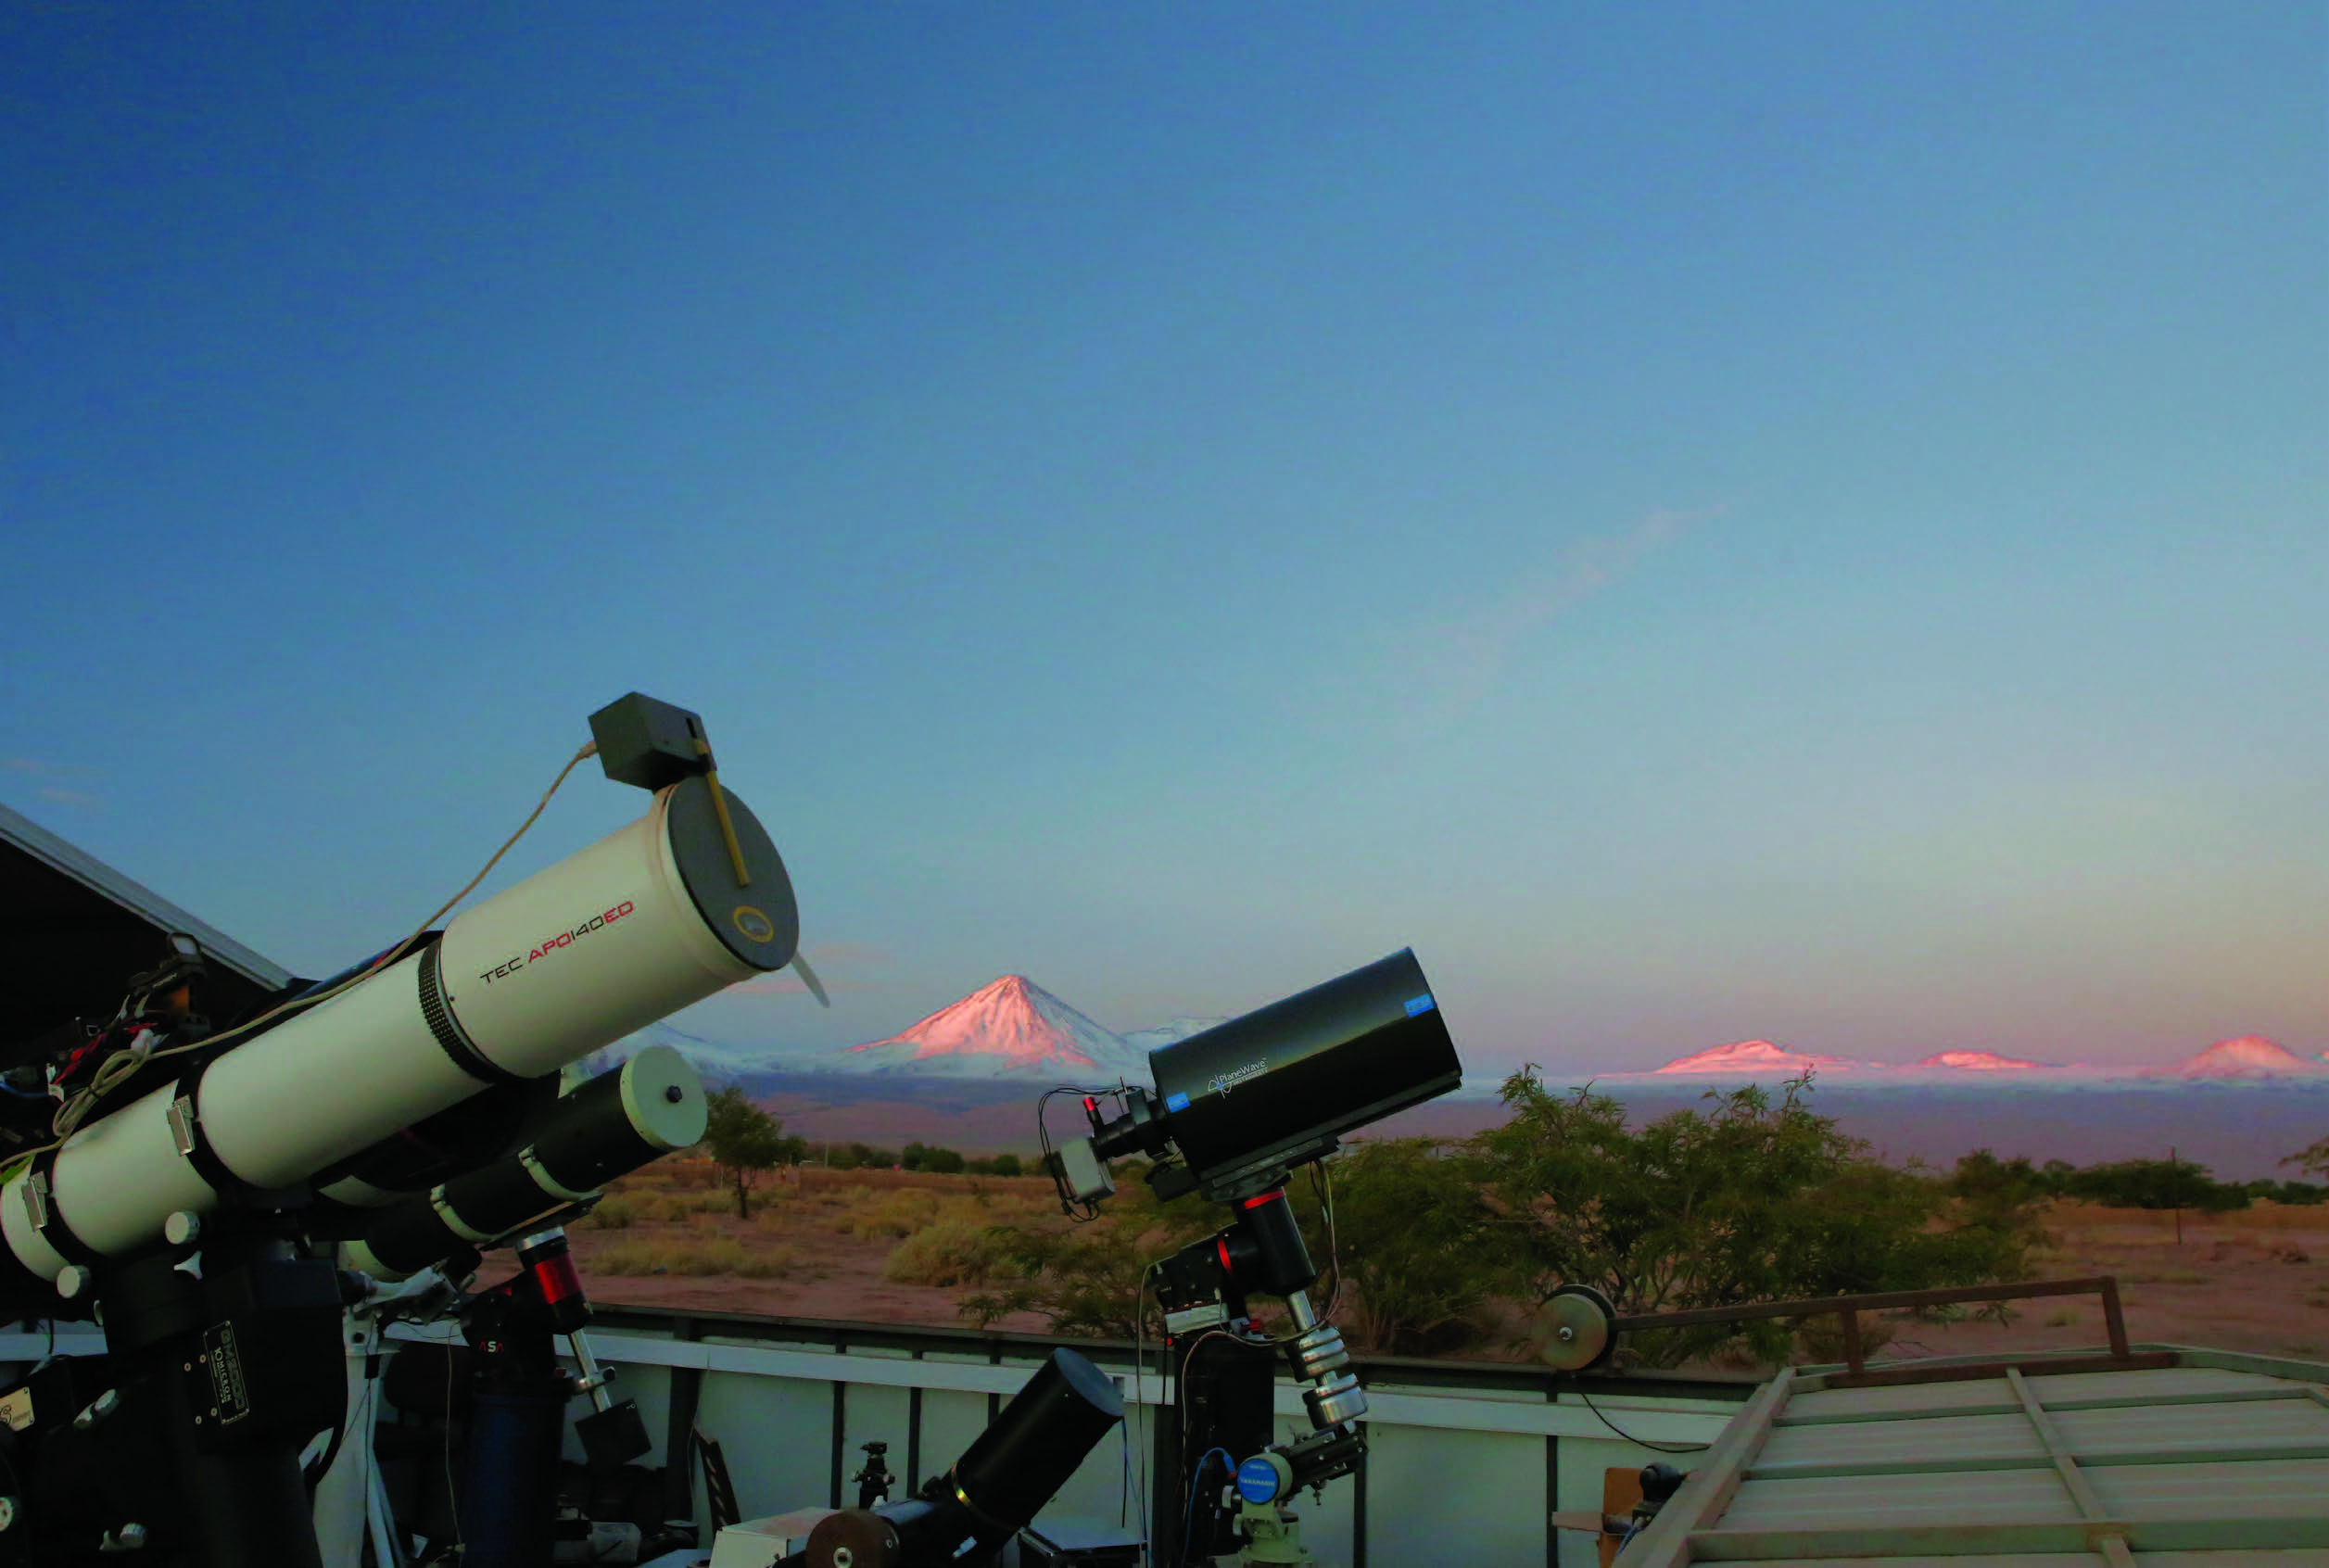
The next requirement is an optical tube assembly that needs minimal maintenance. That could mean a reflector or catadioptric that holds its collimation well and is easy to collimate in the field, or, even better, a refractor. While remote imaging facilities typically employ site operators who can help you with equipment problems and minor maintenance tasks, they are responsible for a good number of telescopes and may not have the time to perform frequent or complex collimation adjustments. Keeping it simple will limit the problems that’ll prevent you from taking advantage of clear nights. I currently use a PlaneWave CDK12.5 (121⁄2-inch) corrected Dall-Kirkham optical tube as my primary imaging instrument. It holds its collimation reliably and rarely requires adjustments.
Another must-have piece in the remote-imaging puzzle is a computer-controlled, electronic focuser. If your scope doesn’t have one, several manufacturers offer add-on units, including MoonLite Telescope Accessories (focuser.com), Starlight Instruments (starlightinstruments.com), and Optec (optecinc.com). I use an Optec Gemini Rotating focuser, which, in addition to permitting me to focus the camera quickly, can also rotate the camera to achieve the desired orientation of my SBIG STL-11000M CCD camera.
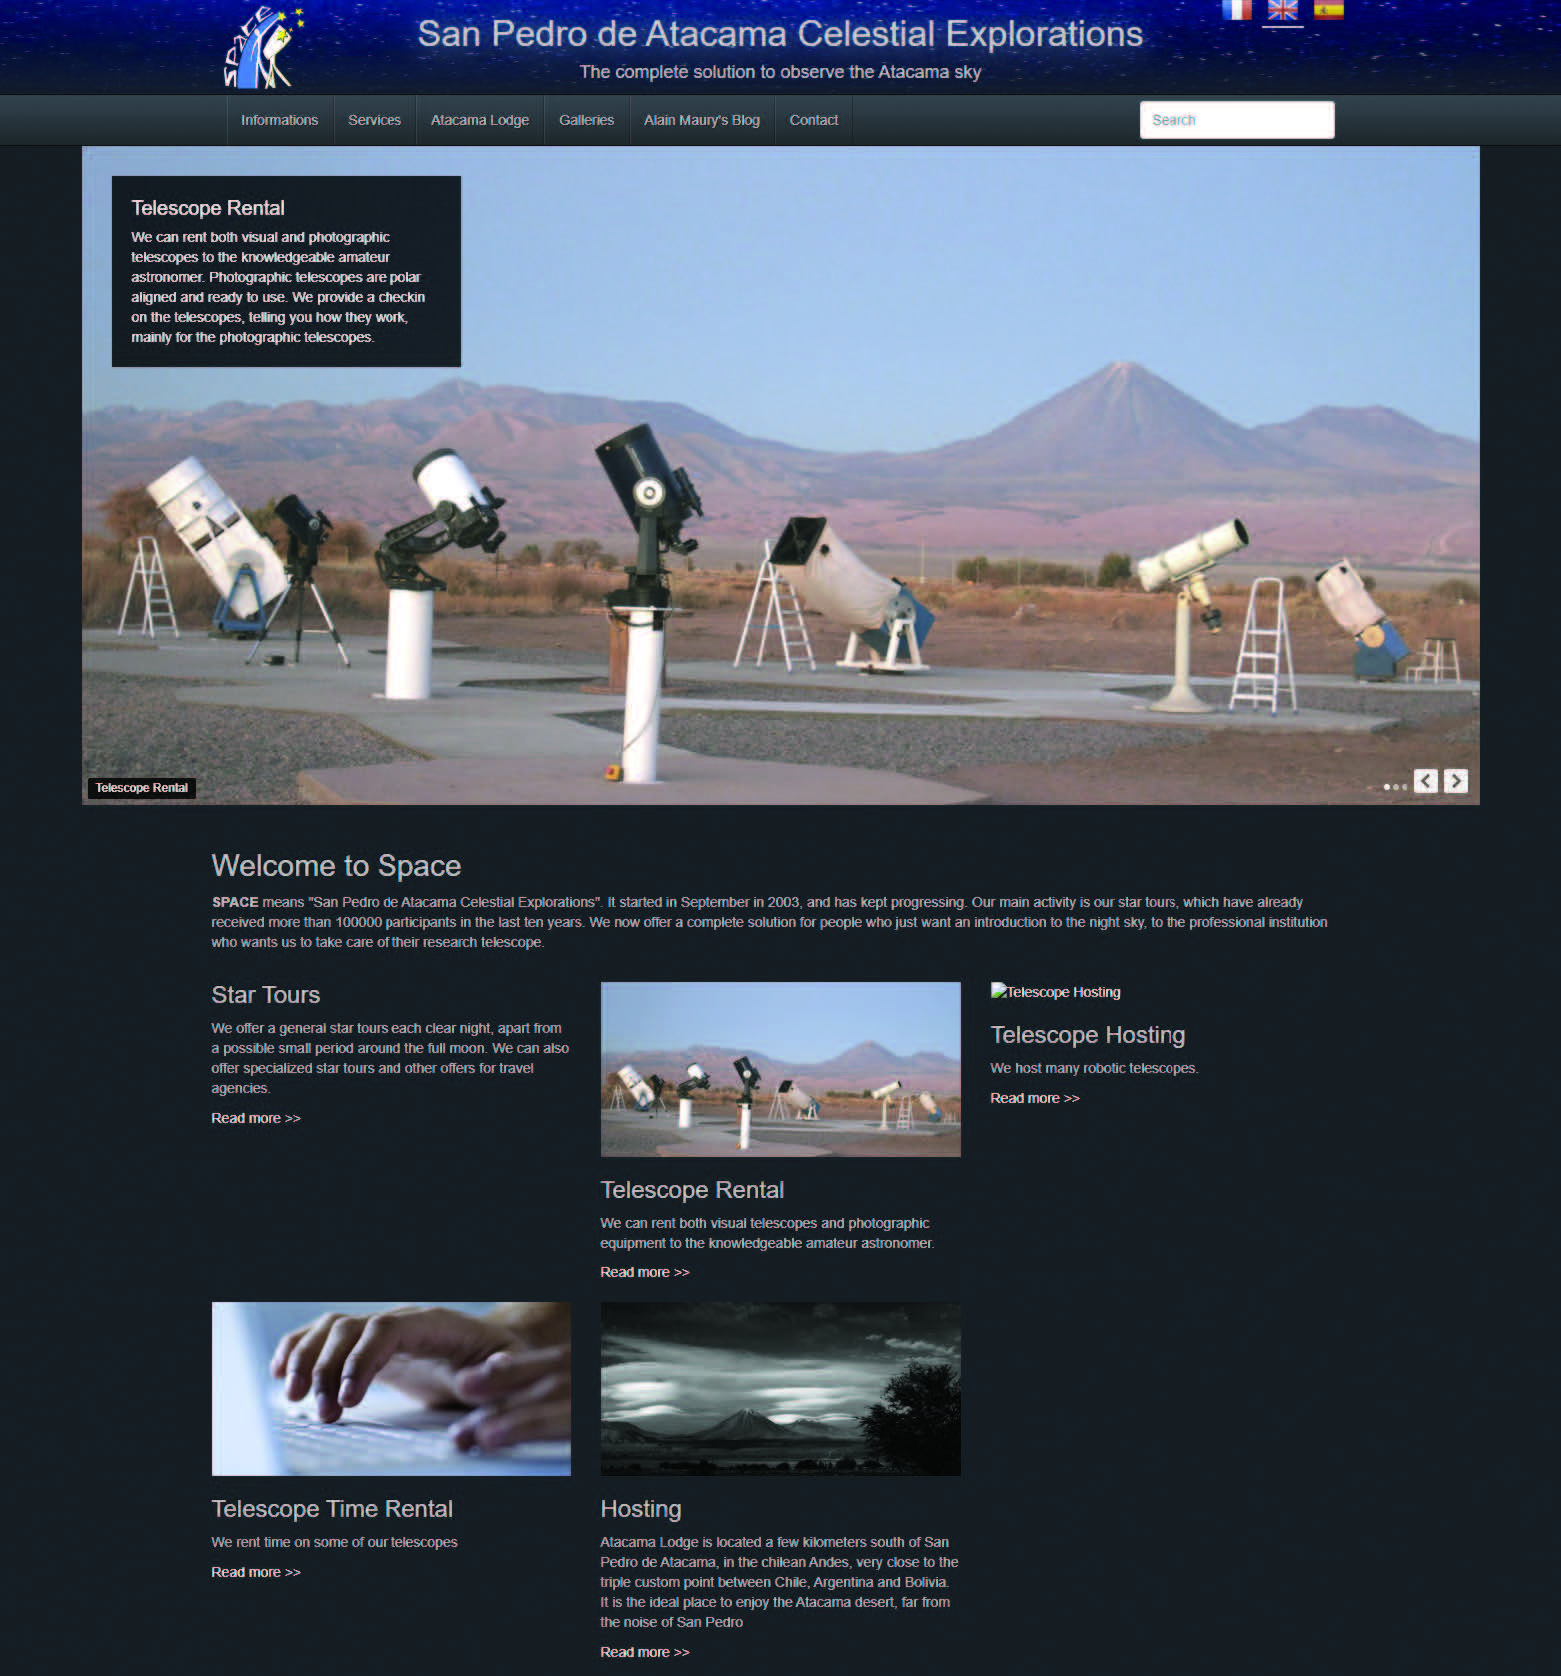
spaceobs.com
The telescope, camera, and mount are the main pieces of a remote-imaging setup, but there are additional components that also need consideration. For example, while some telescope mounts (like the ASA DDM-85) are accurate enough to produce well-tracked, unguided, long exposures, I found that I get my best results with the assistance of an autoguiding setup. You can choose between an external guidescope or an off-axis unit for this. I’ve tried both with my PlaneWave/ASA mount combination and get consistently good results with an off-axis guiding (OAG) system. While an OAG unit that can be rotated independently from the main imaging camera will allow you many more choices when it comes to choosing guide stars, in practice, I haven’t had any problems finding suitable guide stars without this option.
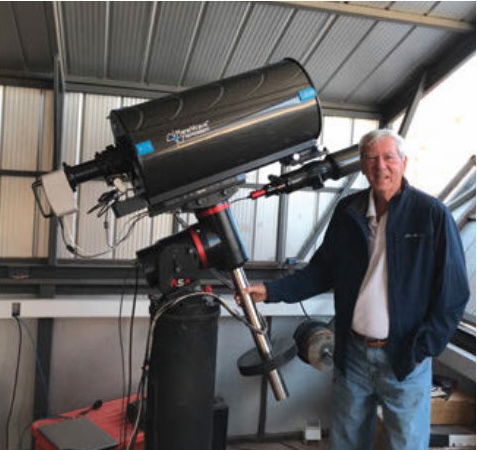
Alain Maury
Computing Considerations
Another remote-imaging necessity is a robust computer loaded with the required camera and telescope-control software. Since the computer will reside onsite, there are two options depending on whether you’ll be remotely connecting to the computer and reducing (calibrating, stacking, etc.) your images, or if you’ll just be downloading your data through a file transfer service. If the former, then the computer needs to have a fairly powerful processor and lots of RAM, so that it performs like your home processing station. However, if you decide to choose the latter option, you can get by with a computer just powerful enough to run your control software.
Sean Walker / S&T
No matter which direction you take with the control computer, it will need to have a large hard drive to store your data each night. Plan on investing in a 2-terabyte hard drive at the minimum — frequent clear skies mean you’ll be accumulating a lot of images compared to what you’re used to.
As for the telescope/camera control software, choose a program (or suite of programs) that permits you to plan and execute at least one full night of imaging and be able to control everything. After shopping around, I decided on Prism (hyperion-astronomy.com) as my one-stop control center. The professional version of the software is fairly inexpensive ($349) and includes everything I need to point the telescope, focus the camera, calibrate the autoguider, and execute multiple imaging sessions from power up to shutdown. The software also has an automatic flat-fielding routine to record crucial calibration frames in the early evening or at dawn. It even includes a built-in planetarium to help me choose and point at targets. Once the data is acquired, I use Prism as a full-featured astro-image processing suite to calibrate all my images before I download them from the control computer.
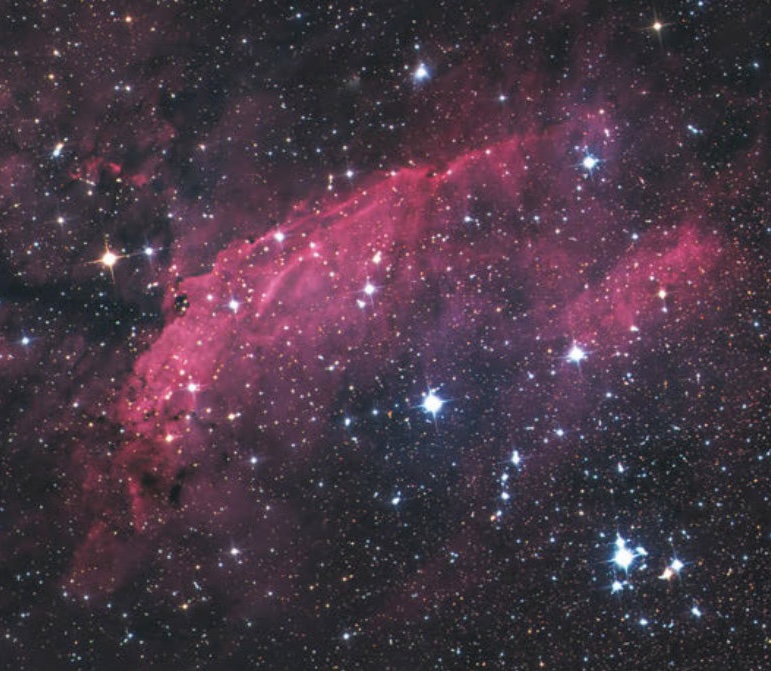
Ted Wolfe
Other remote-imaging hardware-control programs include ACP (acpx.dc3.com), MaxIm DL Pro Suite (diffractionlimited.com), Sequence Generator Pro (sequencegeneratorpro.com), TheSkyX Imaging Edition (bisque.com), and Voyager (software.starkeeper.it). In some cases, you may need two of these programs operating simultaneously.
Finally, you’ll need some way to connect with your control computer, whether it’s to simply download your images or, as in my case, to fire everything up for an evening of astrophotography. I subscribe to AnyDesk Remote Desktop Software (anydesk.com), which I use for this task, just as if I was there onsite. TeamViewer (teamviewer.com) is another, similar option. Some imagers instead prefer having their images delivered directly to a subscription-based file transfer service like Dropbox (dropbox.com).
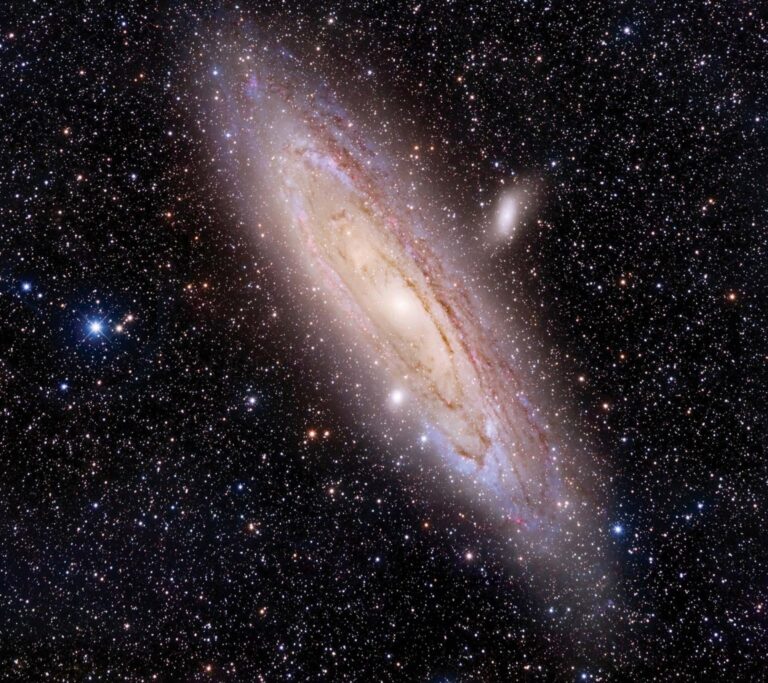
Ted Wolfe
Once you’ve gathered all the required pieces, be sure to test it all together at home before shipping the equipment to your remote hosting facility. That way, you can identify and address any weak links in your system. Test your cable management to ensure nothing can get yanked out during a meridian flip, and that all adapters hold tight with your equipment pointed at any angle. When you’re ready to ship it to its final destination, keep in mind that if you choose a hosting facility in a foreign country, you’ll be charged import duties and fees. These can be as high as 40% of the cost of the equipment shipped.
Putting It All to Use
After everything arrives onsite and is set up, you’ll need to work out any bugs that may have cropped up. It’s a good idea to keep an operational journal to record any problems and their solutions to avoid having to re-learn how to solve the issue a year or two later. Sometimes an adapter loosens up or a cable becomes faulty. Fortunately, the hosting facility has at least one technician onsite who can help fix these problems as they crop up during the night.
Once everything is operating smoothly, imaging with a remote setup is a dream come true. The Atacama Desert, where San Pedro de Atacama is located, is one of the driest places on Earth. One client of SPACE who concentrates on variable star research recorded usable data on 345 nights in a single year.
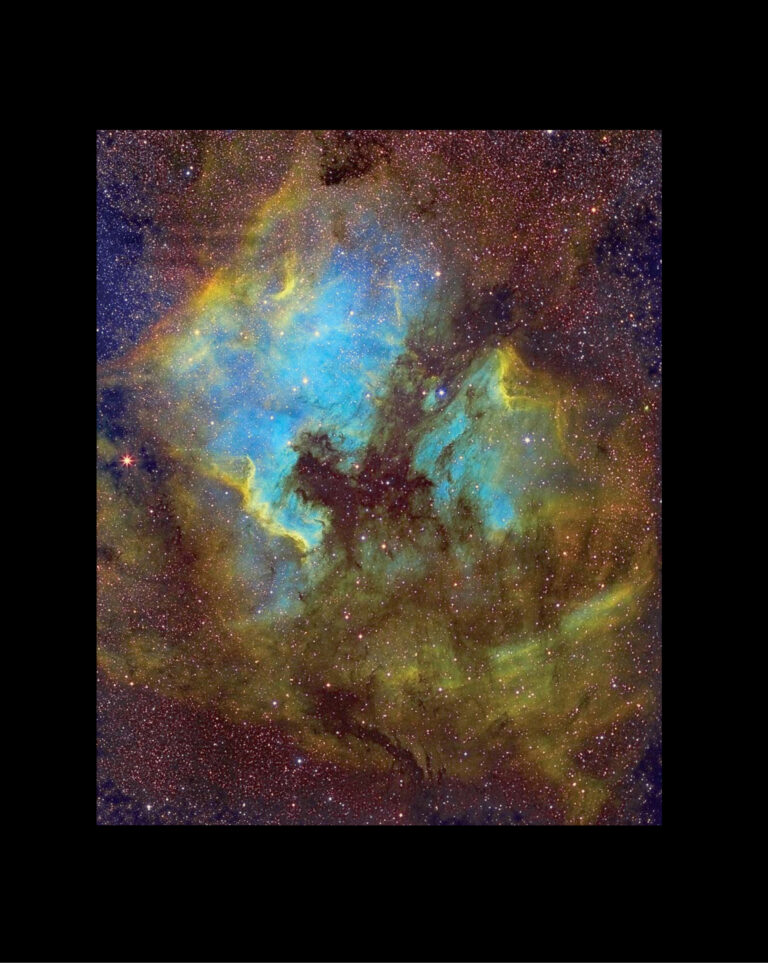
Ted Wolfe
Here’s what a typical evening with my remote telescope looks like. I begin by booting up my home computer to check the local weather forecast for the site. If it’s clear, I log on to my control computer using AnyDesk. An internet protocol camera provided by SPACE monitors the interior of each observatory and displays constantly updated still pictures showing the roof open and my scope in its park position. If all is as planned, I start up the mount and camera in Prism and begin cooling the camera. Next, I open the Automatic Observation form in Prism and enter my imaging script for the night. This is where I input my target, when to start the sequence, what filters to use, and how often to perform the autofocus command. I also adjust the autoguider parameters (if necessary) and designate a location to store the resulting files. I then do a short “Homefind” operation with the mount to ensure it’s pointing accurately.
The entire startup process takes about 15 minutes. Once it’s completed, I hit Go and watch as the telescope slews to my chosen target, acquires a guide star, and begins operations. I can then log out of AnyDesk, close my computer, and go on with the rest of my evening.
The next morning, I reconnect to the control system and confirm that the scope is parked and the camera’s cooling system is turned off. If all is well, I activate Prism’s automatic data-reduction routine, which calibrates all the night’s images with a single click. Once the reduced images have been downloaded onto my home computer, I power down the mount and camera, and log off AnyDesk. I then stack and process the results using MaxIm DL, RegiStar, and Adobe Photoshop.
Ted Wolfe
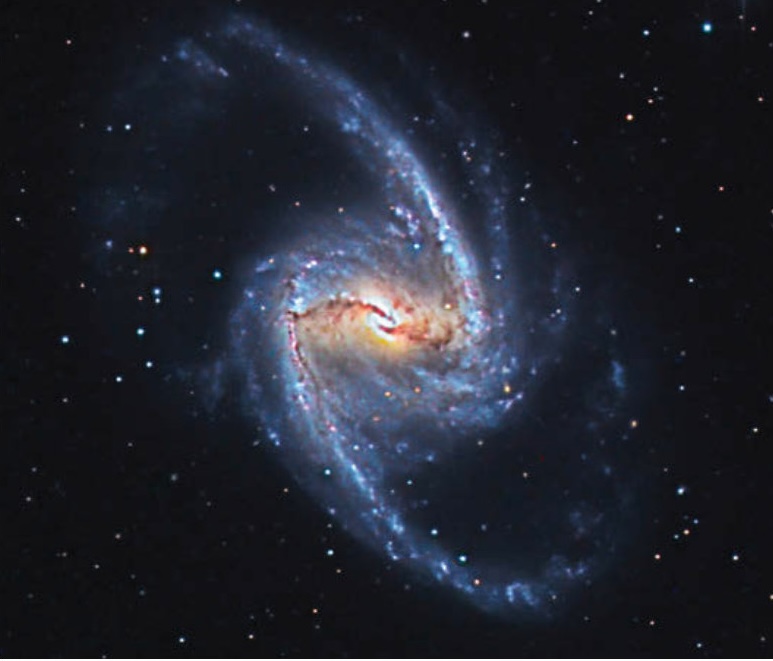
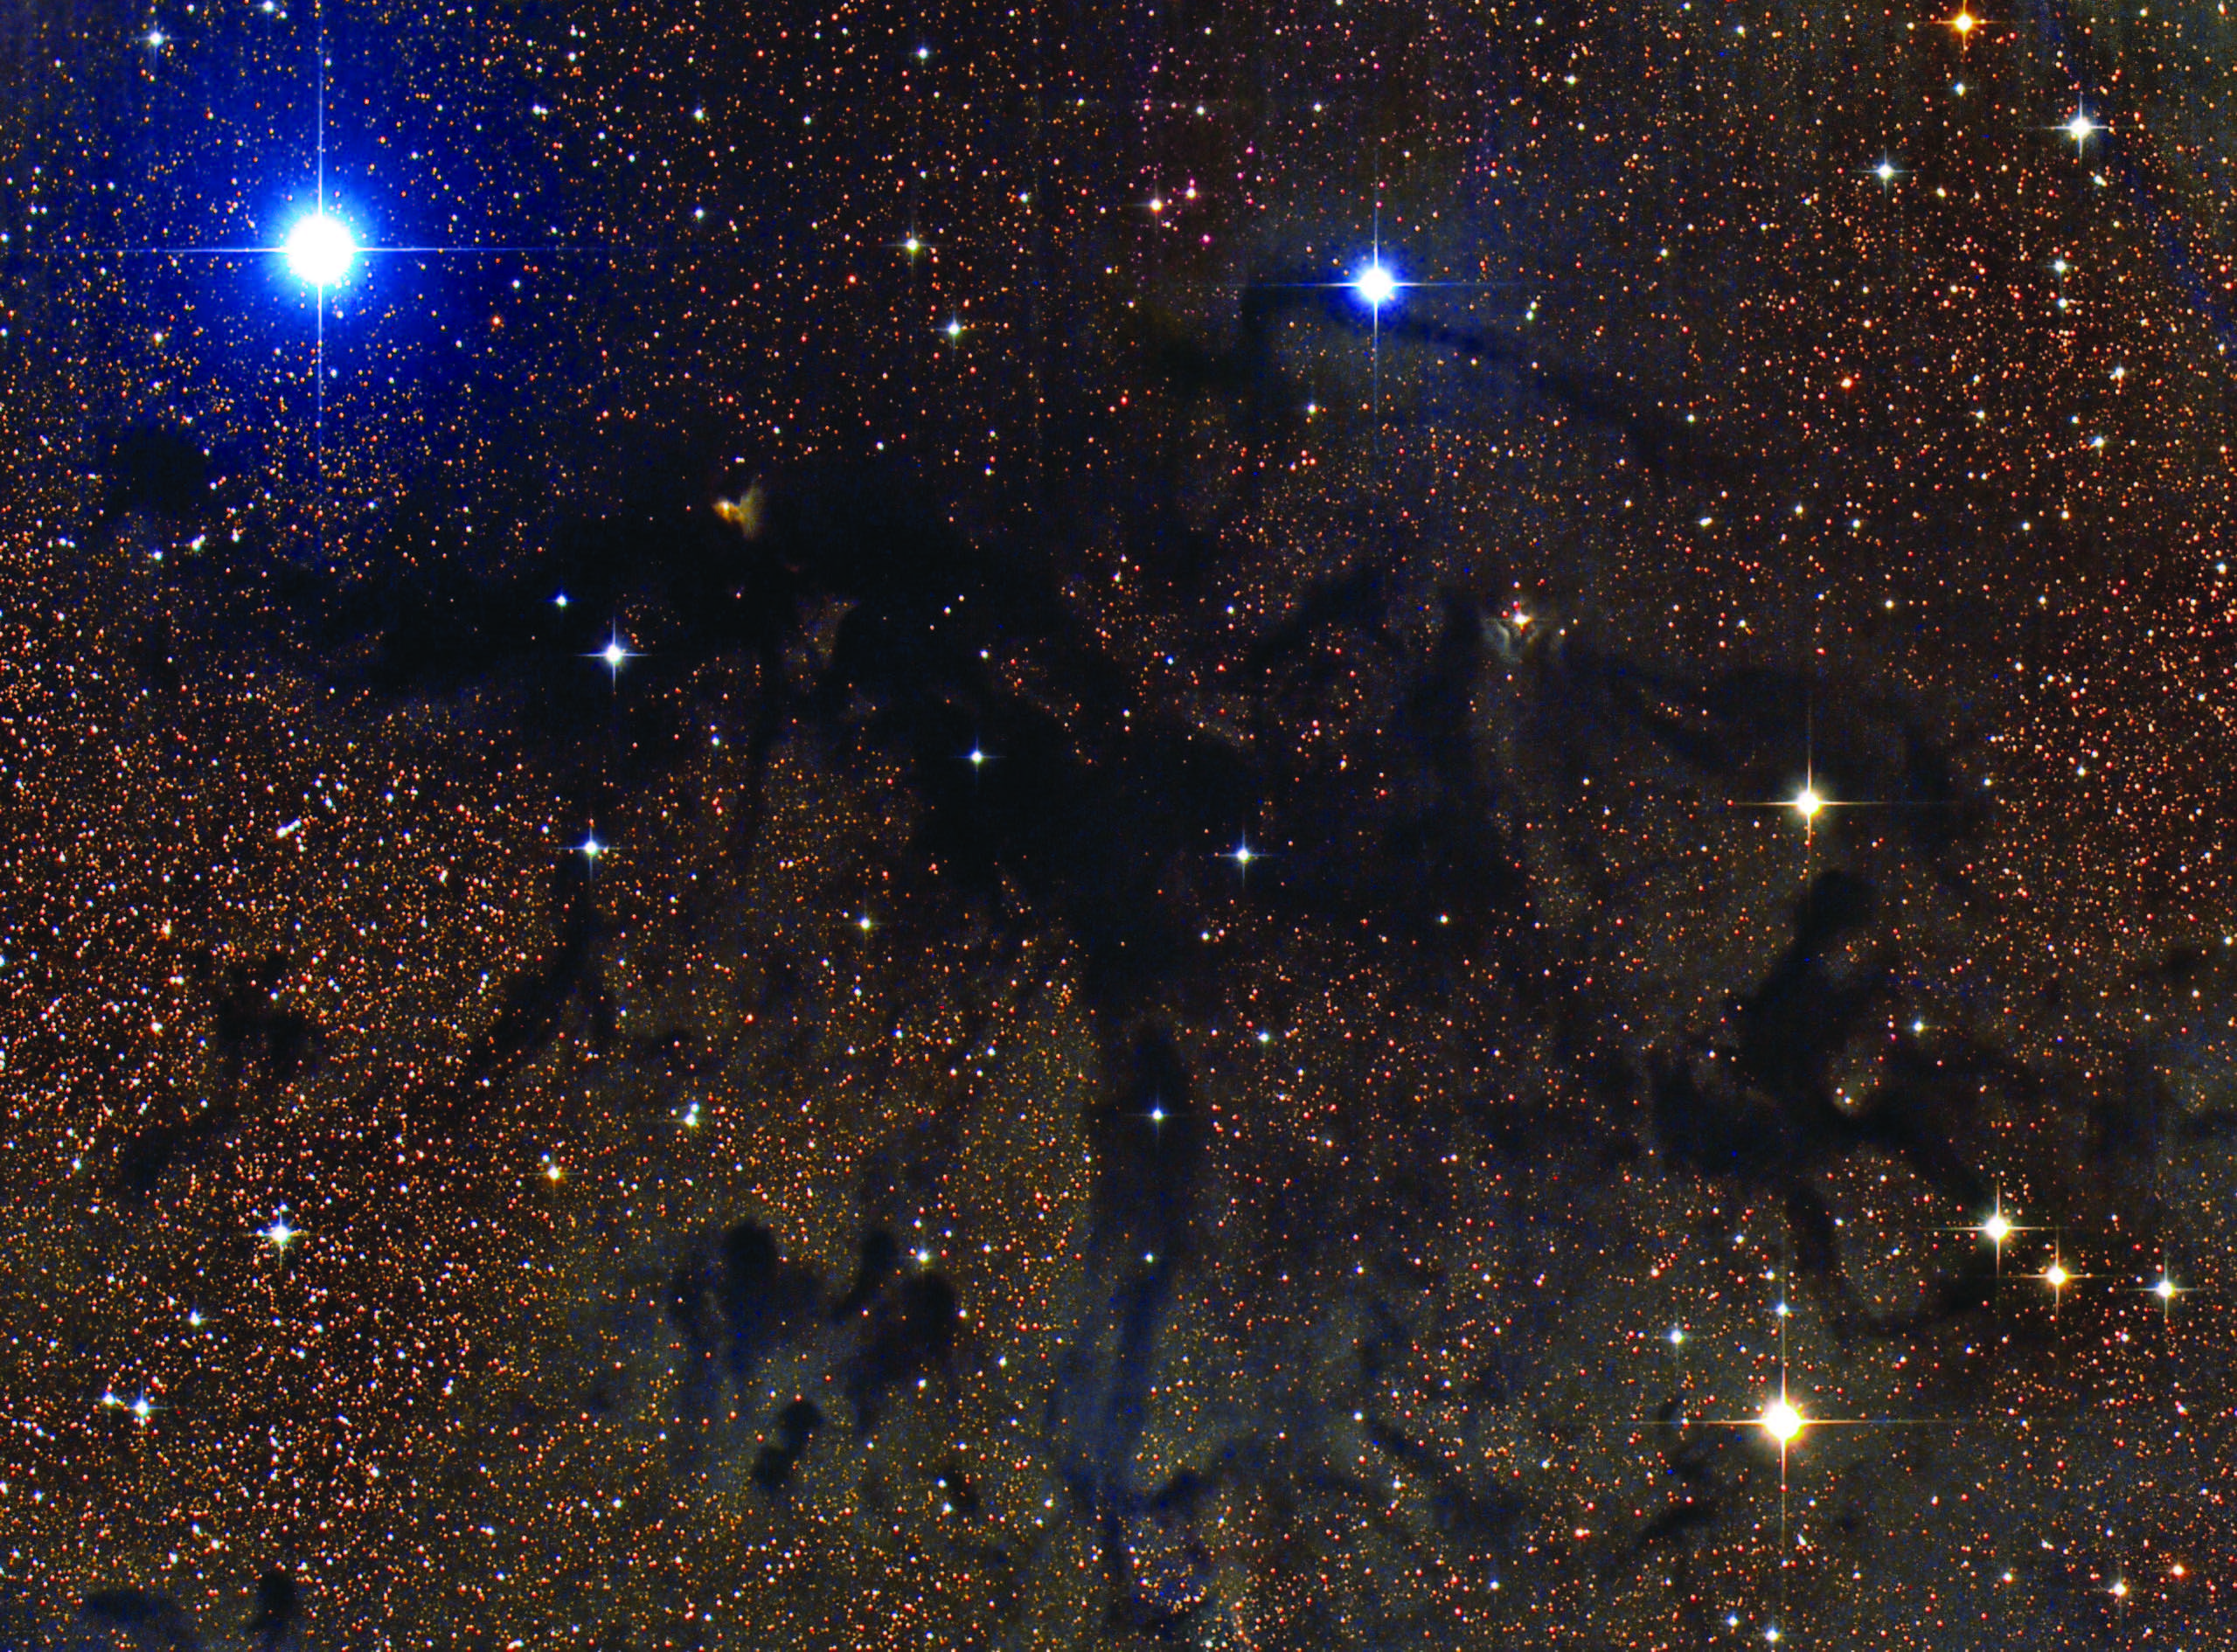
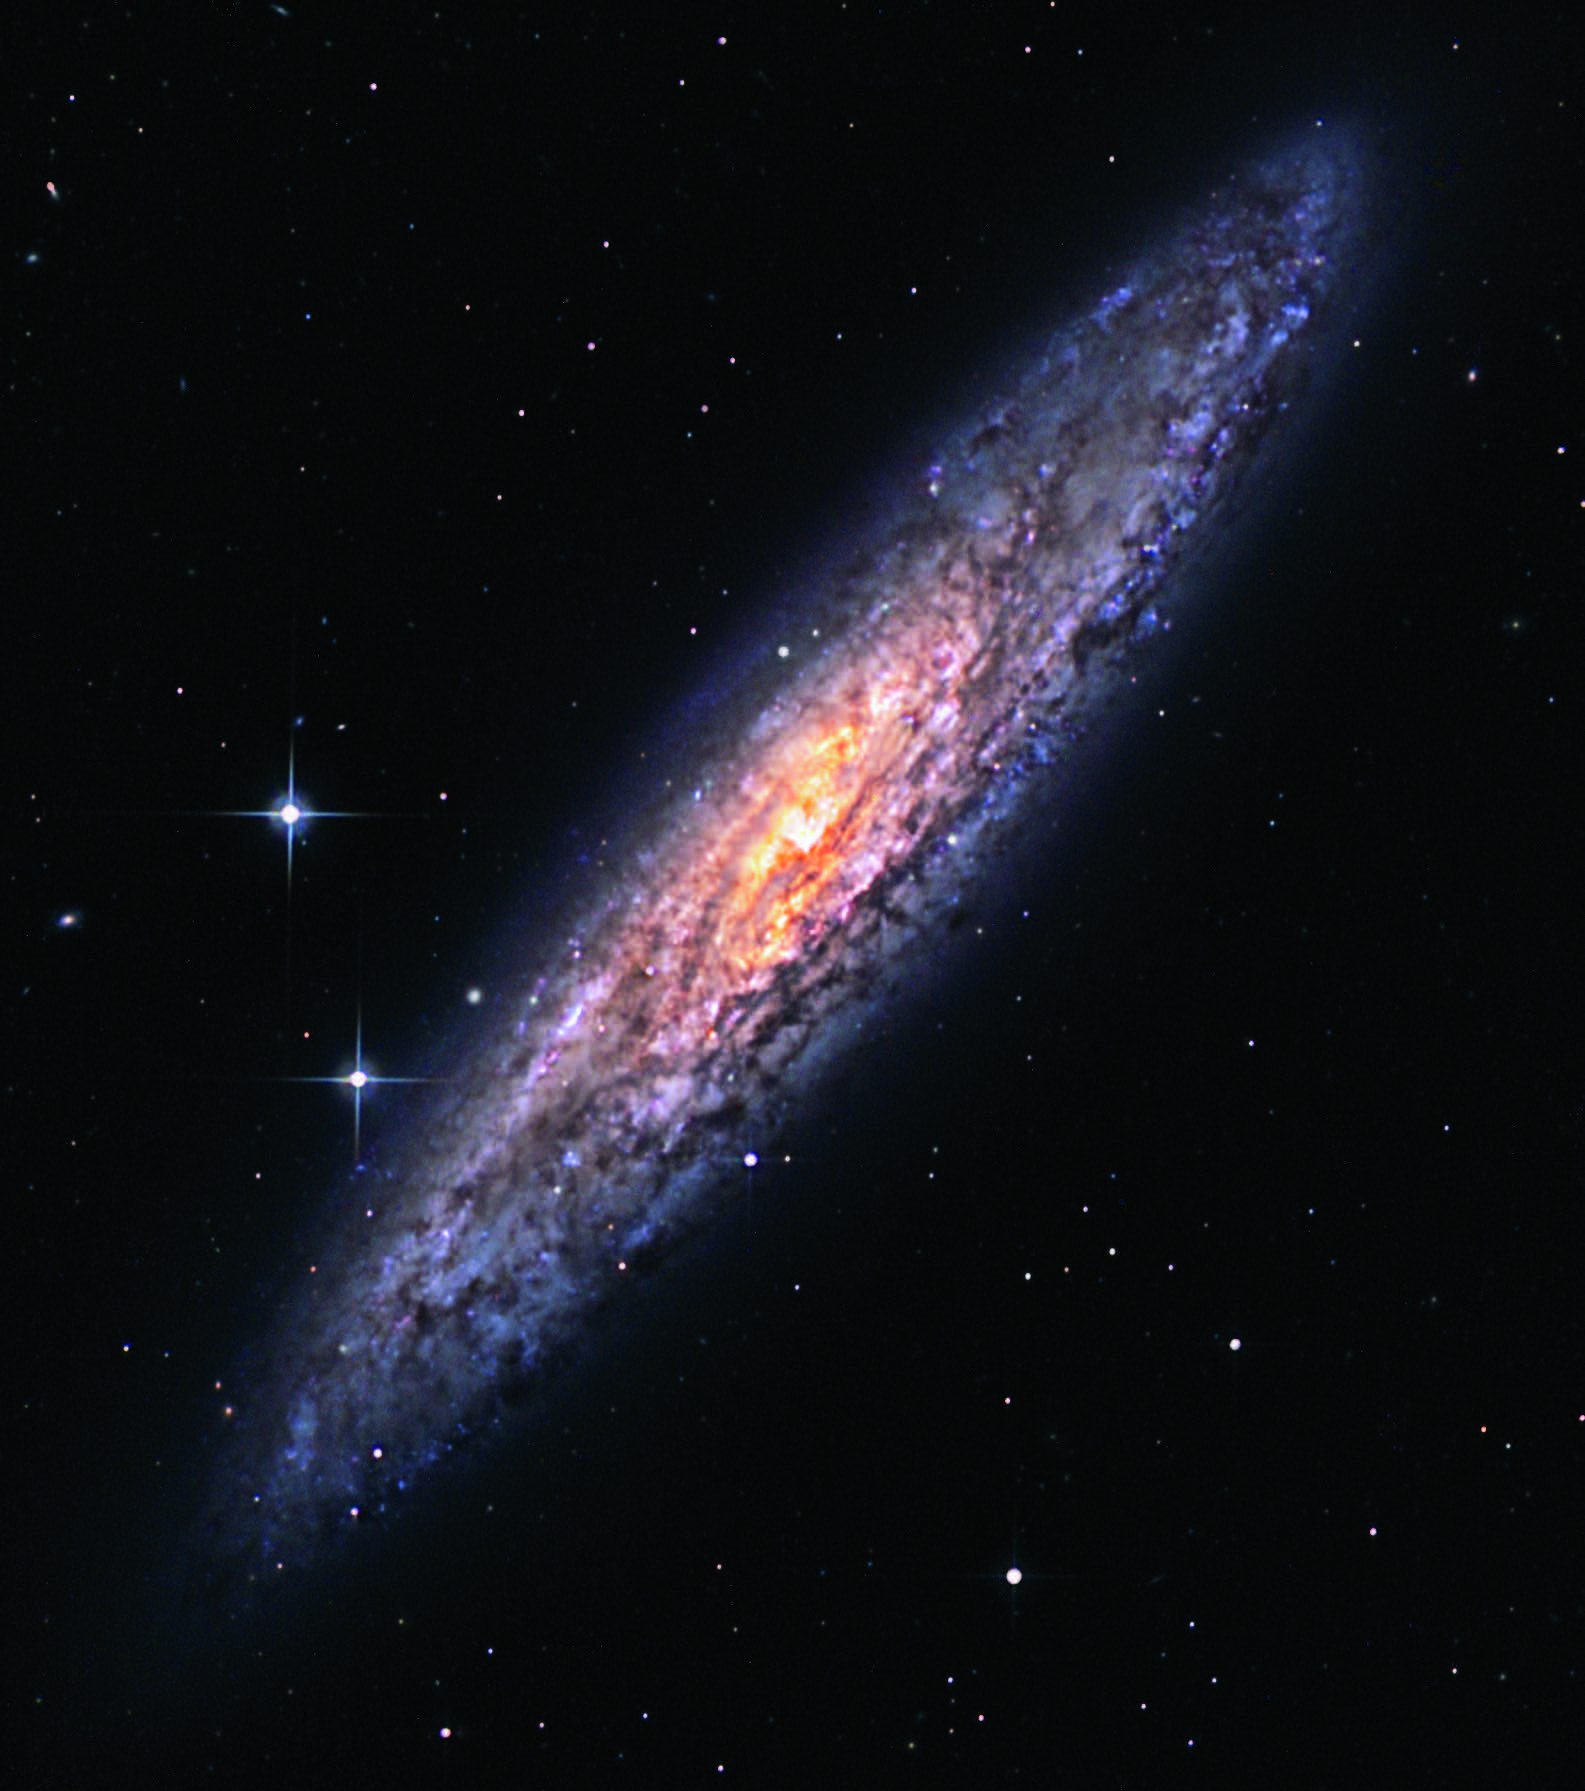
Remote imaging can expand your astrophotography output by leaps and bounds. Although the initial costs for the necessary equipment and software can be substantial depending on the gear you choose, for me, the investment was worth it. I get far more use out of my equipment than I could here at home.
This article originally appeared in the October 2021 issue of Sky & Telescope.
About Ted Wolfe
TED WOLFE controls his imaging system in Chile from the comfort of his home in Naples, Florida. Visit tedwolfe.com to see more of his astrophotography.


Comments
You must be logged in to post a comment.