 0
0Last month I discussed white balance settings for astronomical images recorded with DSLR cameras. Now let’s look at the second step alluded to in the column: subtracting the light pollution from your results to get a natural color image.
The Color of the Night Sky
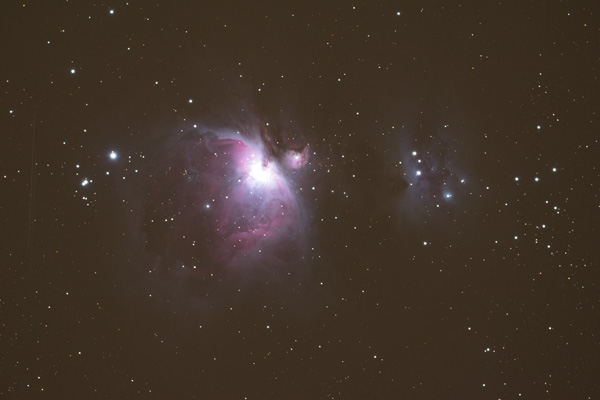
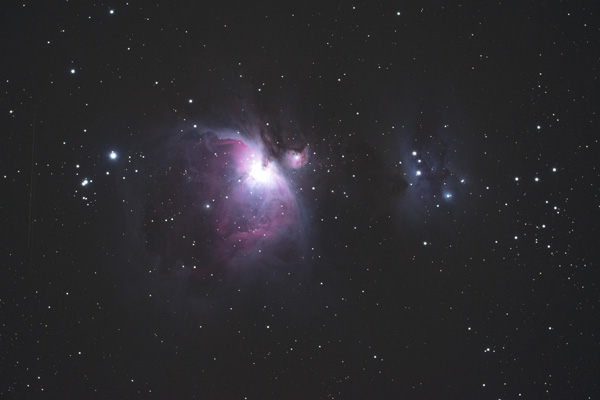
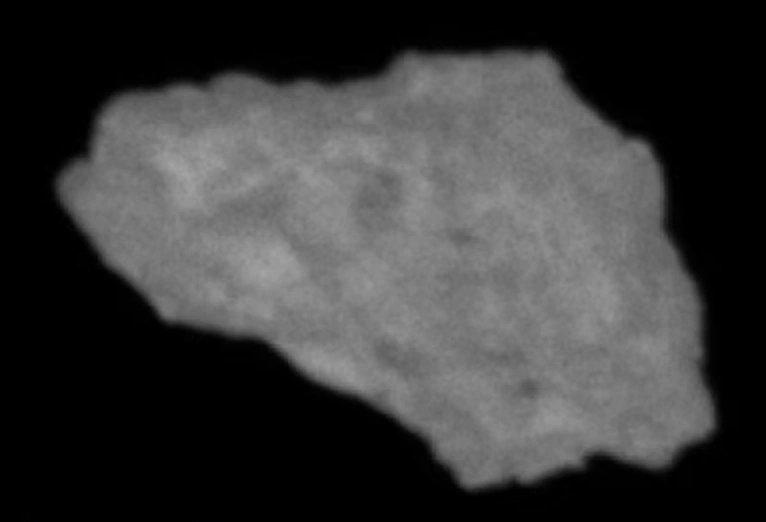
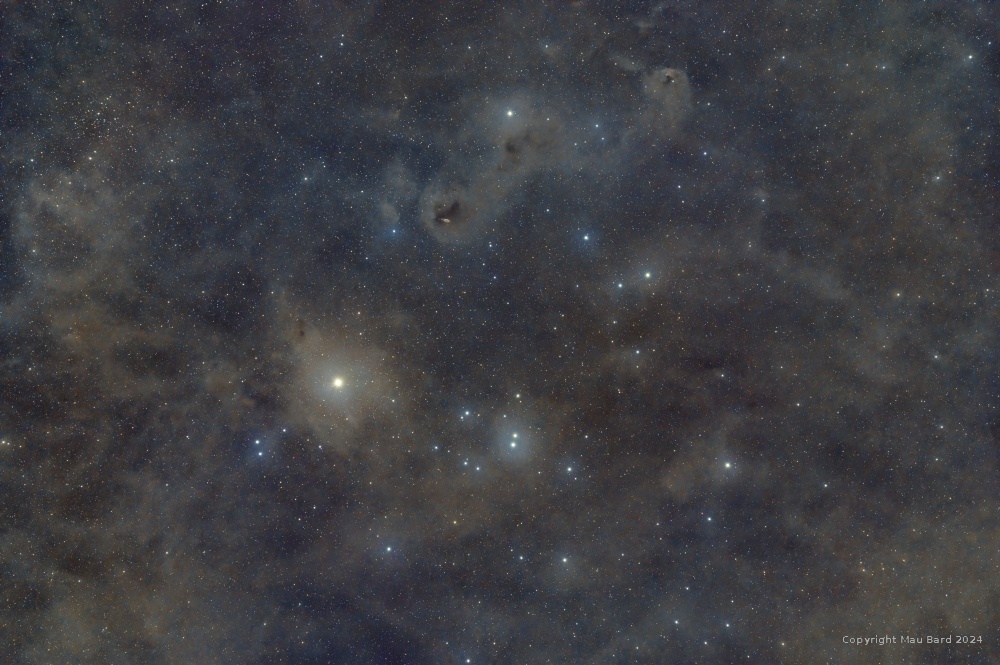
Contrary to what you might think, the night sky is not black. Even at the darkest observing site in the world, you can still easily distinguish between the sky and the horizon. The sky is actually quite bright at observing sites with even mild light pollution.
For deep-sky astrophotography, we need to expose long enough to get the faintest detail up out of the noise of the camera. In these results, the sky will not be black. Indeed, if you expose so that the sky is black, or even adjust it to be black later in processing, you’ll lose the faintest details in deep-sky objects that are just above the brightness of the sky background.
The problem is, these long exposures reveal the true color of the nighttime sky, which is usually an ugly red-brown color. This color comes from what I call the “foreground sky.” The foreground sky color is created in Earth’s atmosphere, usually due to light pollution at urban and suburban observing locations. Even at the darkest observing sites in the world, the sky can be a reddish-brown or sometimes green color due to airglow, a naturally occurring emission of light from Earth’s atmosphere. The images of deep-sky objects must pass through Earth’s atmosphere, and the color of the foreground sky is added to them.
Subtracting Light Pollution
To correct this foreground sky in our images, we can subtract it in Adobe Photoshop. Technically, subtracting this colorcast should be done to linear (unedited) data, though I’ve found that it doesn’t make much difference if it’s done after non-linear adjustments are performed.

Here is how you do it.
- Select the eyedropper tool from the tool palette and change the sample size to 31 by 31 average.
- Call up the levels dialog from the pull-down menu (Image > Adjustments > Levels).
- Double click on the black-point eyedropper at left.
- In the Color Picker (Target Shadow Color) window, set the R,G,B values to 35,35,35 and click OK.
- Now simply click on an area of blank sky background with no stars or nebulosity.
That’s it!
This method will remove that ugly red-brown color of the foreground sky by subtracting it from the image, resulting in a nice dark-gray sky background.
About Jerry Lodriguss
Jerry Lodriguss has been an amateur astronomer and astrophotographer since 1972. He worked professionally for more than 30 years as a photojournalist and sports photographer. Today, Jerry is an author, photographer and contributing editor to Sky and Telescope magazine. Check out Jerry's images and astrophotography at http://www.astropix.com.


Comments
You must be logged in to post a comment.