 5
5Learn how to make a travel-friendly solar projection viewer for your telescope for the next total solar eclipse!
Zachary Day
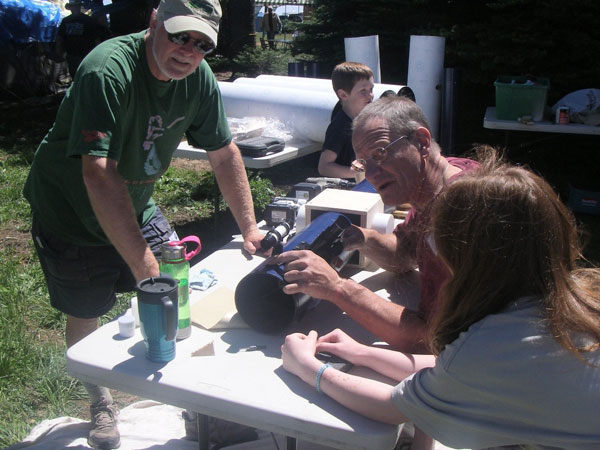
Each summer I have the privilege to run the Student Telescope Making Program at the Table Mountain Star Party. Over the course of a few hours, students assemble telescopes and use them that night out on the telescope field. With the next total solar eclipse approaching, it seemed like the right time to do something a little different, perhaps even a bit more inclusive for kids of ALL ages!
It occurred to me that a device to allow safe viewing of the eclipse would be a fun project to undertake. I wanted a design that was:
- Lightweight — It needed to weigh less than many premium eyepieces
- Portable — Able to be broken down for easy transport
- Flexible — Could be used with a variety of scopes of various sizes & focal lengths
- Affordable — Including the eyepiece, it could made for around $50 or less
- Re-useable — Could be used for the eclipse, or viewing sunspots
- Easy to Build — Could be built with commonly available materials
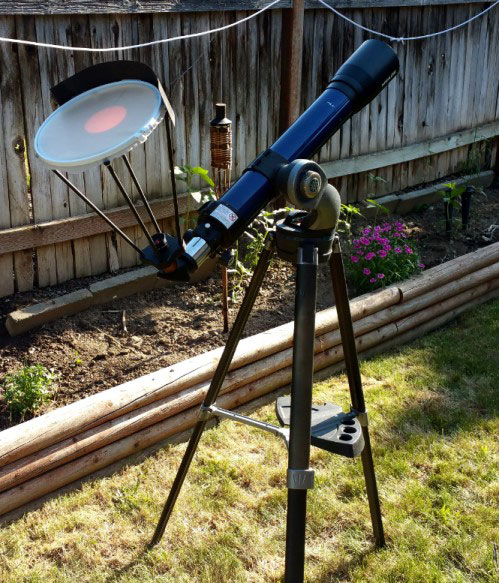
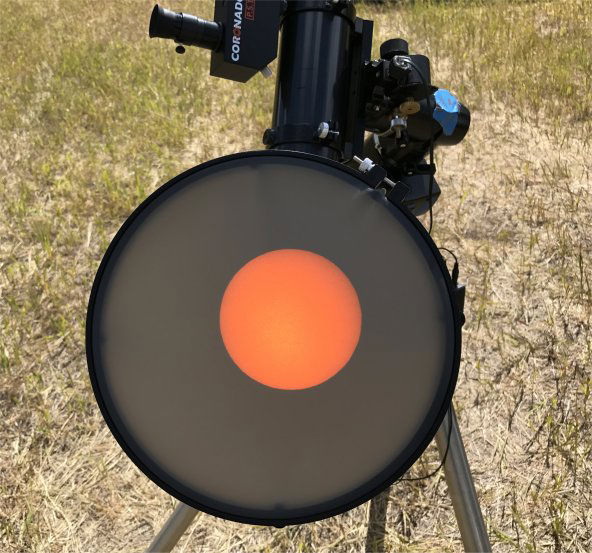
The projector uses a plywood base, carbon graphite arrow shafts for screen supports, and an embroidery hoop to hold the screen. Assembled, the unit weighs less than 13 ounces, including the eyepiece! The arrow-shaft support rods can be unscrewed from the screen holder and base, and the screen itself can be removed from the holder, wrapped in a paper towel, and put in a cardboard tube for transport.
Supplies
Jack Day
- ¾” plywood cut to 4" x 4" — Baltic Birch or similar recommended.
- 1-¼” and 1-3/8” Forstner drill bits
- 1/8" countersink bit with a 5/16" to 3/8” " counter-bore
- Drill press (optional, but really helpful!)
- Two (2) carbon fiber arrows — 30” length with 7.8-mm outside diameter (OD)
- Eight (8) 1”- long flat-head machine screws
- Six (6) carbon shaft aluminum inserts 0.244"
- Embroidery hoop (we used “Hoop-La” plastic hoops)
- Four (4) ¼”-long #6 Phillips thread-forming screws
- Four (4) #6 external-tooth lock washers
- Four (4) angle brackets
- Rear screen projection material
- Simple eyepiece
- Protractor or similar device for measuring angles
Instructions for Projection Viewer Construction
Drill the Hole for the Eyepiece
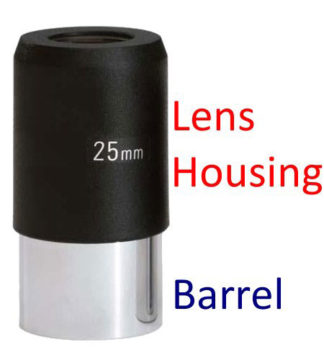
Use a bit that’s slightly larger than your eyepiece lens housing to drill a hole about 5/8” deep (leave just over 1/8" of the wood remaining) in the center of the 4” x 4” piece of plywood.
Jack Day
Next, use the 1-¼” Forstner bit centered in the first hole to drill through the remaining wood.
Drill Holes for Support Rods
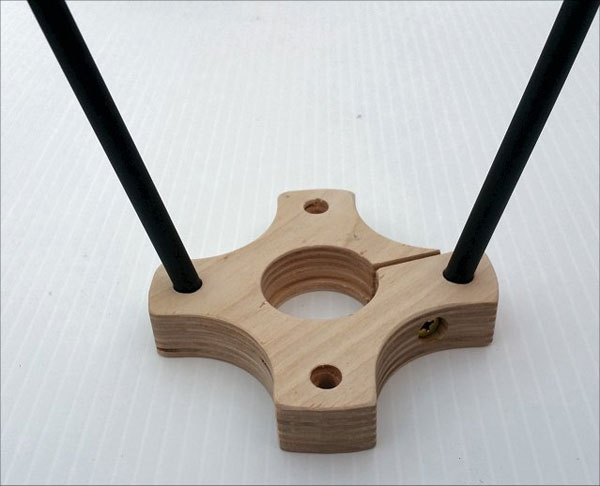
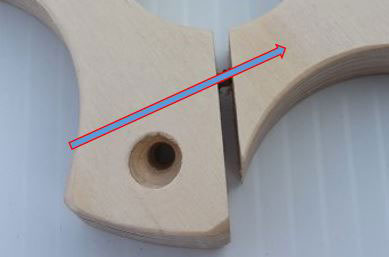
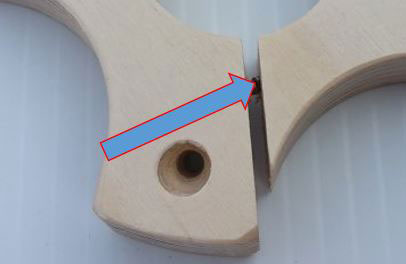
Use your countersink bit to drill a hole at a 75° angle about one inch in from each of the four corners of the base. The hole must be facing away from the center of the base.
Make sure the side of the base with the hole for the lens housing is facing up — this is the “top” of the base. If you have a drill press, you can tilt your table by 15°, as this will make getting the proper angle for the support rods much easier.
Jack Day
Drill until the countersink is approximately 1/3 of way through the base (from the top). Once the four holes are drilled, you can turn over the base and use the 1/8” pilot holes to add countersinks to the bottom of the base if desired. If you don’t countersink the bottom of the base, use slightly longer screws to attach the screen support rods.
Jack Day
Make the Support Rods
For 8” hoops, use 8 ½” long support rods
For 10” hoops, use 13” long support rods
We used a “Mini Tubing Cutter” to cut the arrow shafts to length. Once cut, use Super Glue to add an insert into the “unfinished” ends of the rod.
Jack Day
Jack Day
The Screen Support Hoop
Using the 1/8” bit, drill four pilot holes 90° apart into the side of the inner ring. The holes are best when drilled a bit closer to the bottom of ring.
Jack Day
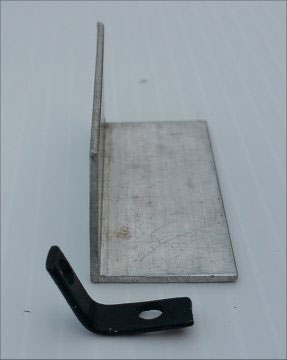
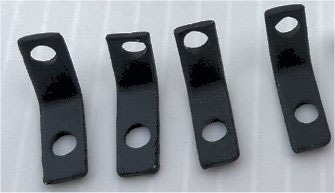
Angle Brackets
We used 3/8”-wide pieces of ¾” aluminum angle, altering the 90° bend by opening it up to 105°. Drill two holes in each bracket for the 8-32 machine screws.
Jack Day
Jack Day
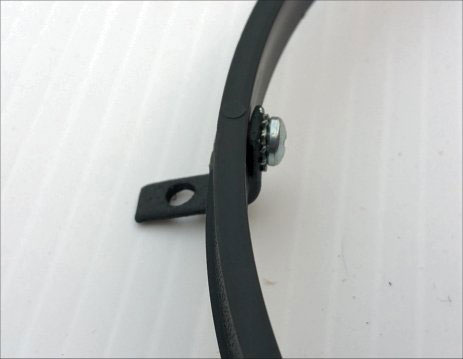
Attach the angle brackets to the inside of the inner hoop ring, with the bracket pointed below and to the outside of the ring.
Jack Day
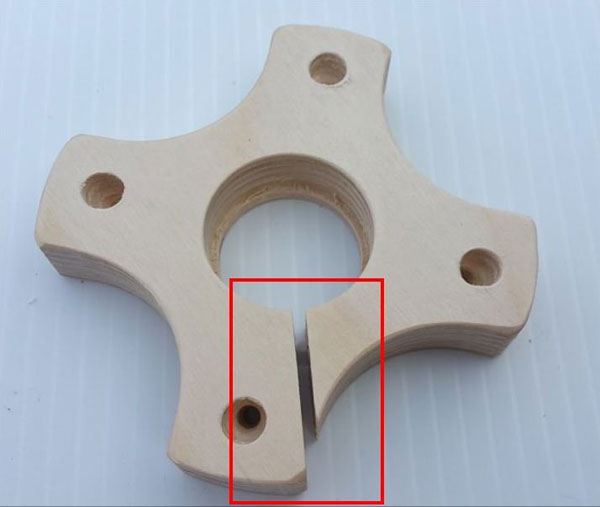
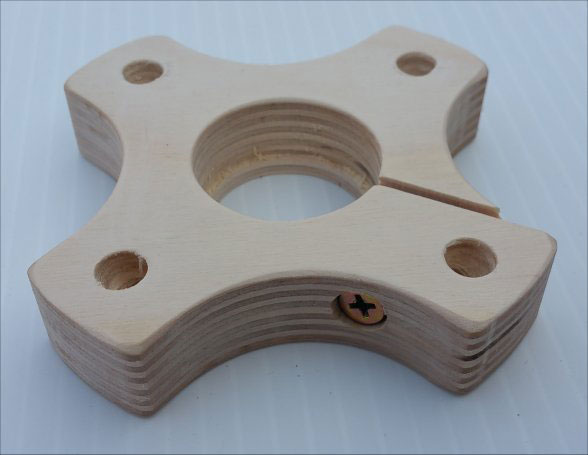
Eyepiece Clamping Mechanism
Use a saw to cut from the side of the base to the center of the base.
Drill and countersink a pilot hole in the side of the base that passes through the cut you just made. Insert a wood screw into the pilot hole that is long enough to pass through the saw cut and continue into the other side of the cut.
Jack Day
Jack Day
Jack Day
It should travel at least another ½” into the other side of the cut. When tightened, this will allow the base to clamp down onto the barrel of the eyepiece, providing good support for the projection screen.
Jack Day
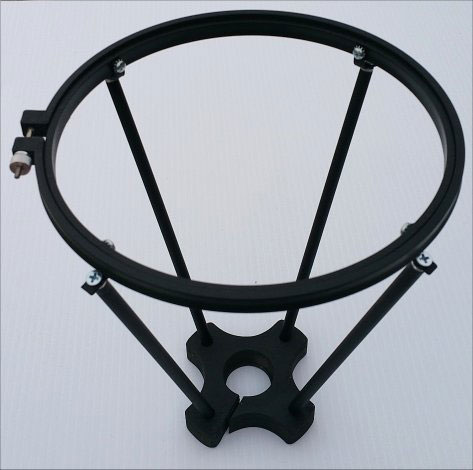
Put It All Together
Jack Day
Attach the arrow shafts or dowels to your base.
Attach the inner hoop to the support rods.
Now you can add an eyepiece and the viewing screen!
Safety Recommendations
Since this design does not use a solar filter, use an eyepiece with an all-metal lens housing and barrel and make sure no one puts their hands in between the eyepiece and the projection screen. A simple optical design with as few cemented elements as possible is also recommended.
For telescopes with an objective larger than 70mm in diameter “stop down” the telescope to — at most — around 60 to 70 mm (40 to 50 mm for extended viewing times).
George Karl
Choose the Right Focal Length Eyepiece
For focal lengths:
- Up to 500-mm focal length, use a 9-mm or 10-mm eyepiece
- From 500-mm to ~ 750-mm, use a 12-mm to 20-mm eyepiece
- From 1000-mm to ~ 1500-mm, use a 25-mm or ~ 26-mm eyepiece
- 1500mm+ 30mm or longer focal length eyepiece.
The Projection Screen
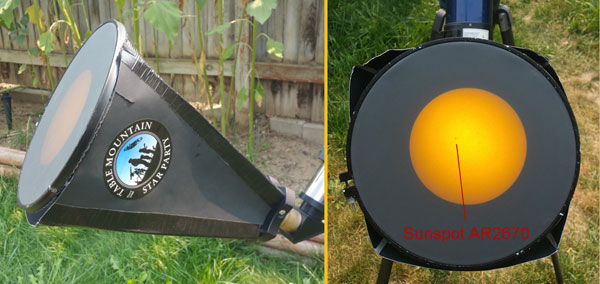
We used Rose Brand rear projection screen material, and felt that the standard “grey” screen was ideal. One yard (36” x 55”) provides enough material to build around 10 projectors.
Jack Day
“Hoop-La” hoops are available in many colors, and both the 8” and 10” versions were easy to find at several local stores. We also suggest painting or sealing the projector base to protect it from moisture. We would love to see pictures of your screens in action on Eclipse Day!
Final Thoughts
This project would not have been possible without the support of Table Mountain Star Party (TMSP), and my telescope building crew: Zachary Day and Richard McDonald. Thanks to TMSP for the financial and moral support, and thanks to my crew for making them a reality! Oh, and be sure to join us for TMSP next year! You never know what the telescope building crew will come up with next!
For more eclipse information and resources, visit our Total Solar Eclipse 2024 portal!
About Jack Day
Jack Day began his adventure in amateur telescope making in 1985. He has been a speaker at the Telescope Optics Workshop in Bellingham, WA, runs the Student Telescope Making Program at the Table Mountain Star Party, and is otherwise mostly harmless.


Comments
Iveydog
August 13, 2017 at 3:15 pm
What a great idea. I'm using a similar projection method on my 60mm Celestron equatorial telescope without a solar filter - a photography clamp attached near the focus knobs, lightweight rod attached to a 5" square of foam core board perpendicular to the lens with its 90 degree reflector.
Question: Is there any eye safety issue viewing the sun's image on the foam board as a screen projected this way? I'm following good safety practice - no one is looking through the lens (duh) and nothing goes between the telescope eyepiece and the reflecting projection screen. I appreciate your response. [email protected]
You must be logged in to post a comment.
Jack DayPost Author
August 13, 2017 at 3:29 pm
Hello,
That should be perfectly fine. Amateurs have used that method for a very long time. A fun reference is Sam Browns "all about TELESCOPES" Page 43 has lot's of great info on solar projection. He refers to it as the "Safe and sane way to observe the Sun"! If you have an orange or yellow eyepiece filter that will "spice" up the image a bit too! As mentioned above, for longer viewing sessions stop down the scope a bit to about 50mm or less to prevent heat damage to the cemented lenses in your eyepiece. -Clear Skies! Jack Day
You must be logged in to post a comment.
robartsd
April 2, 2024 at 2:45 pm
Thanks for the tips. It seems to be working fine. Unfortunately my plan was to watch this eclipse in Texas and weather does not look like it will be favorable (still taking the trip to visit family, and weather still as a bit of time to shift). Plenty of time to refine my solar projector setup before 12 Aug 2045.
You must be logged in to post a comment.
robartsd
January 26, 2024 at 8:12 pm
Someone near me used a telescope to project onto a board on for the 2017 eclipse. I now have a small telescope with a stop down cap and solar filter, but this projector idea seems more fun for using with a group. My public library gives free access to 3D printing, so I'm thinking about making the base there would be easier for me than fabricating from plywood. How hot does the eyepiece get? Would there be any reason to be concerned about a plastic base melting?
You must be logged in to post a comment.
Jack DayPost Author
January 28, 2024 at 1:24 am
Hello,
The sun was not very kind to an inexpensive Meade eyepiece with a plastic housing. I would recommend an all metal eyepiece with the fewest cemented lenses possible. As for the base, plastic should be fine as the light-path should be contained within the focuser body. Of course, if the focuser is plastic then all bets are off! -Cheers, Jack
You must be logged in to post a comment.
You must be logged in to post a comment.