 0
0Shopping for gear to get started in astrophotography? Here’s some sage advice before you max out all your credit cards.
It’s that time of year when my inbox is filled with notices of sales at my favorite astro-vendors: "Act now while supplies last!" Yeah, stuff is hard to find these days, but also one of the best sales techniques is the “principle of scarcity.” It puts everyone in trigger mode, with their credit cards ready for anything they can find.
What a great time to get into astrophotography, right? Right!?
What it’s a great time for, is some getting-started advice, especially if you are in the mood to spend a pile of money, with visions of galaxies and nebulae dancing in your head.
Want more in-depth astrophotography tips and tutorials? Subscribe Here.
The most important thing I can tell you is that astrophotography is a skill, just like golf, bowling, skateboarding, etc. You can't simply buy the most expensive, top-shelf gear and get great results right away. You're going to have to practice, and you are going to have to be patient. Not just with new, possibly complicated gear and software, but also with the weather, opportunities, the limits of where you are located, and possibly the environment. Astrophotography builds character. Someone should put that on a T-shirt!
First Up: The Tripod
Richard S. Wright Jr.
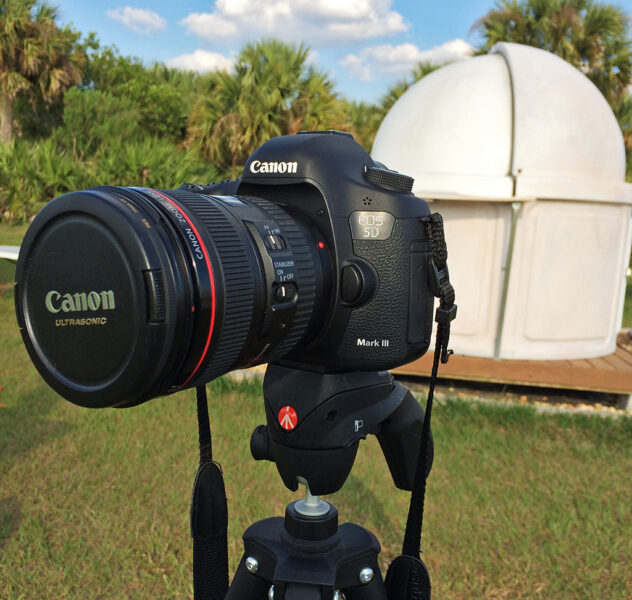
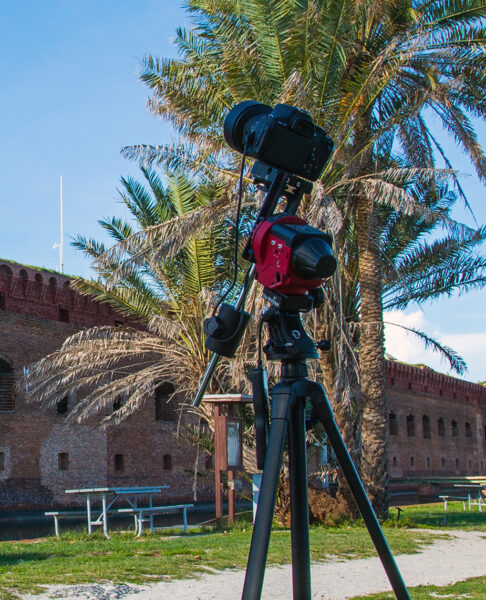
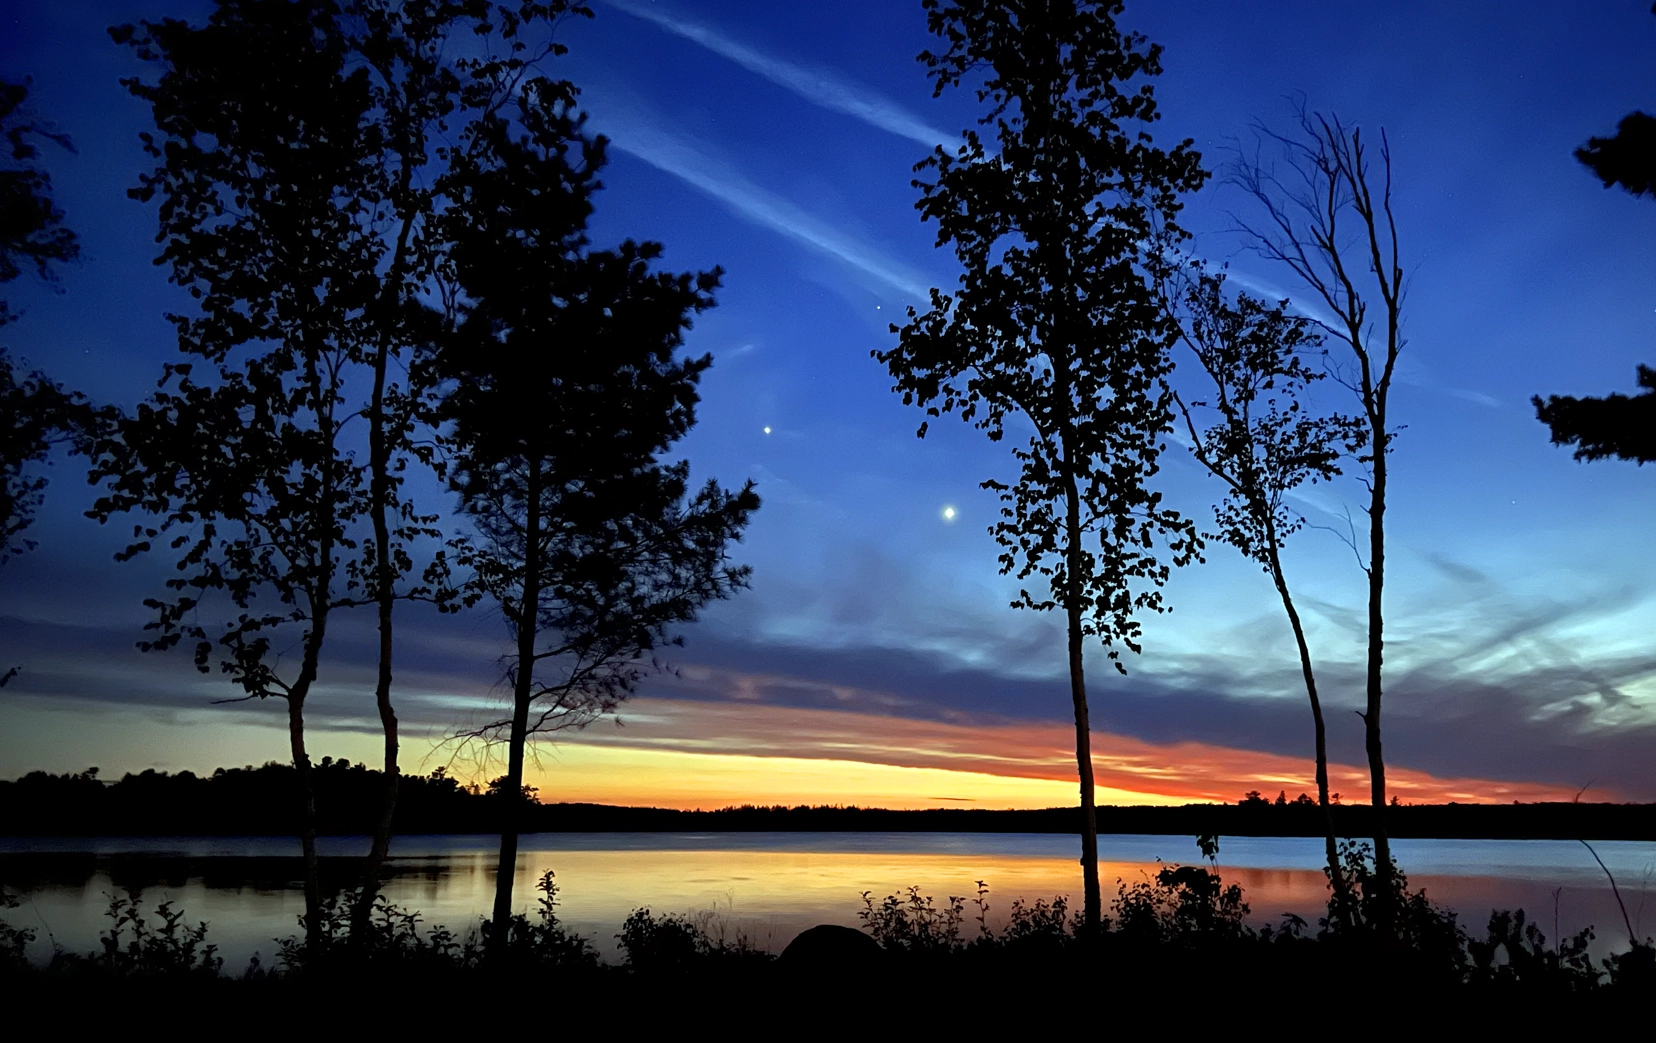
Many people start their hobby of amateur astronomy by jumping right into astrophotography because they are already into photography. This is understandable, and if you're in this group, the best way to make the next step over to astrophotography is to start shooting nightscapes and wide-field stellar vistas.
You likely already have a camera with manual controls, and interchangeable lenses. Your very next purchase needs to be a sturdy tripod. Spare no expense on this investment, as it can last you a lifetime. You want something with a sturdy head that's easy to adjust while still being lightweight and easy to travel with. You can do great work with a camera on a tripod, and you can learn the basics of low-light imaging at “infinity and beyond.” You’ll also learn the night sky along the way.
Richard S. Wright Jr.
A Step Up: "Fast" Lenses, Star Trackers & More
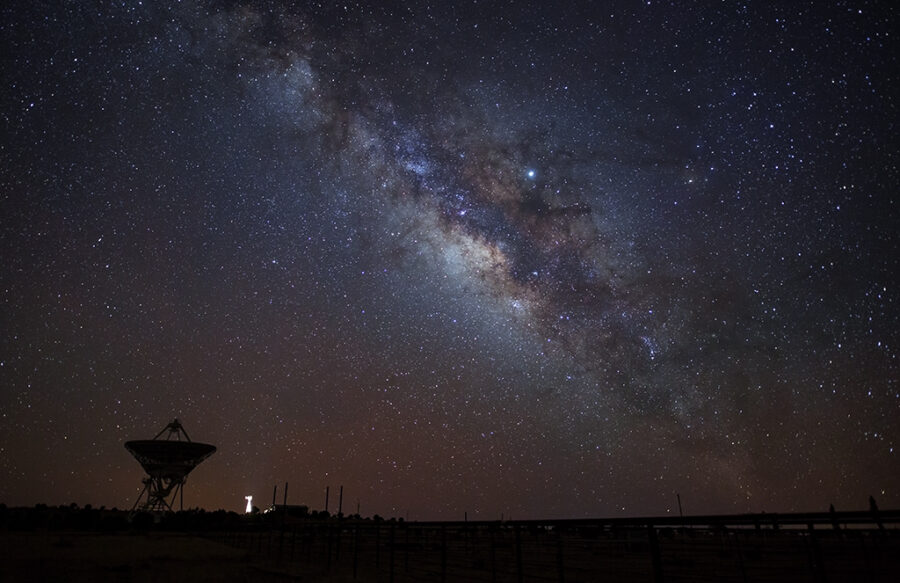
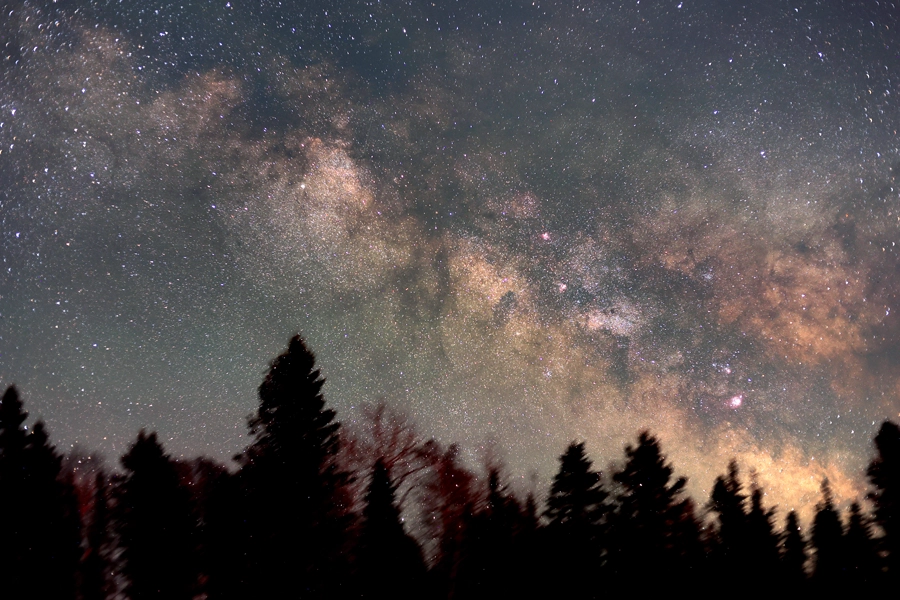
Next up, you may want to invest in some “fast" glass. Lenses with focal ratios of f/2.8 or faster can take stunning Milky Way images in just a few seconds.
Richard S. Wright Jr.
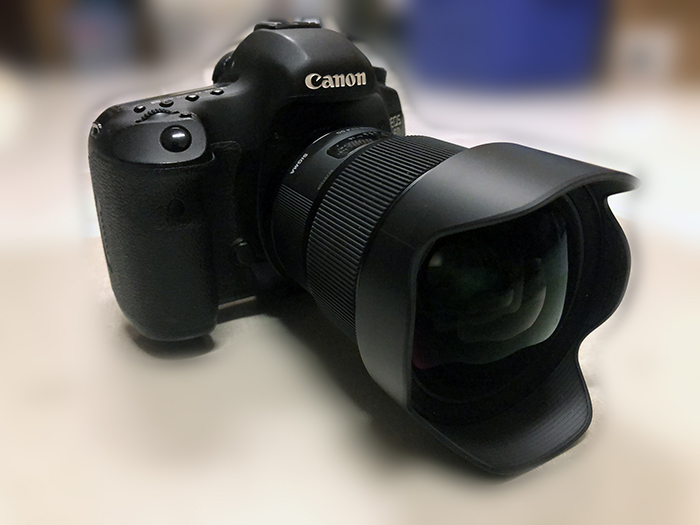
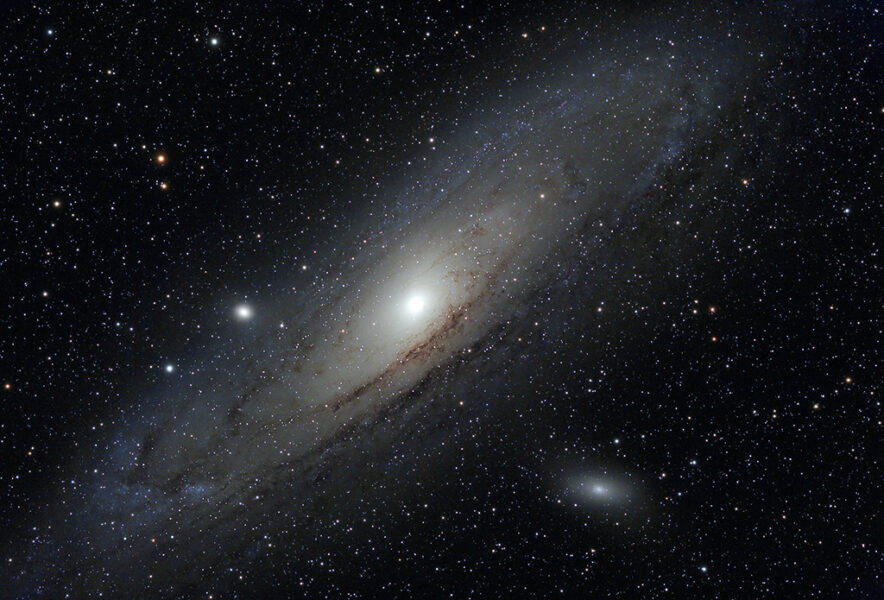
The next stage of mastery comes with an investment in a star-tracker platform so that you can take even longer exposures with longer-focal-length lenses. Many deep-sky objects are surprisingly large, and an 85-mm lens on a star tracker can capture amazing wide-field images of entire constellations or sections of the Milky Way.
Richard S. Wright Jr.
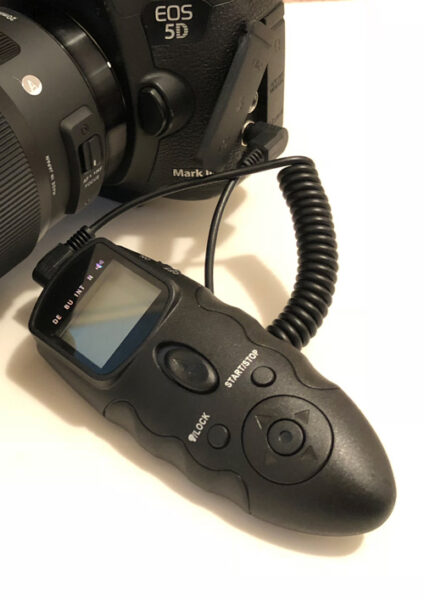
You’ll need a shutter-release cable or an intervalometer to extend your camera's exposure limit past 30 seconds, but some star trackers come with a built-in trigger mechanism, which will make a separate device unnecessary. Many people stop here, and who knows, you could well be the next great The World at Night (TWAN) photographer!
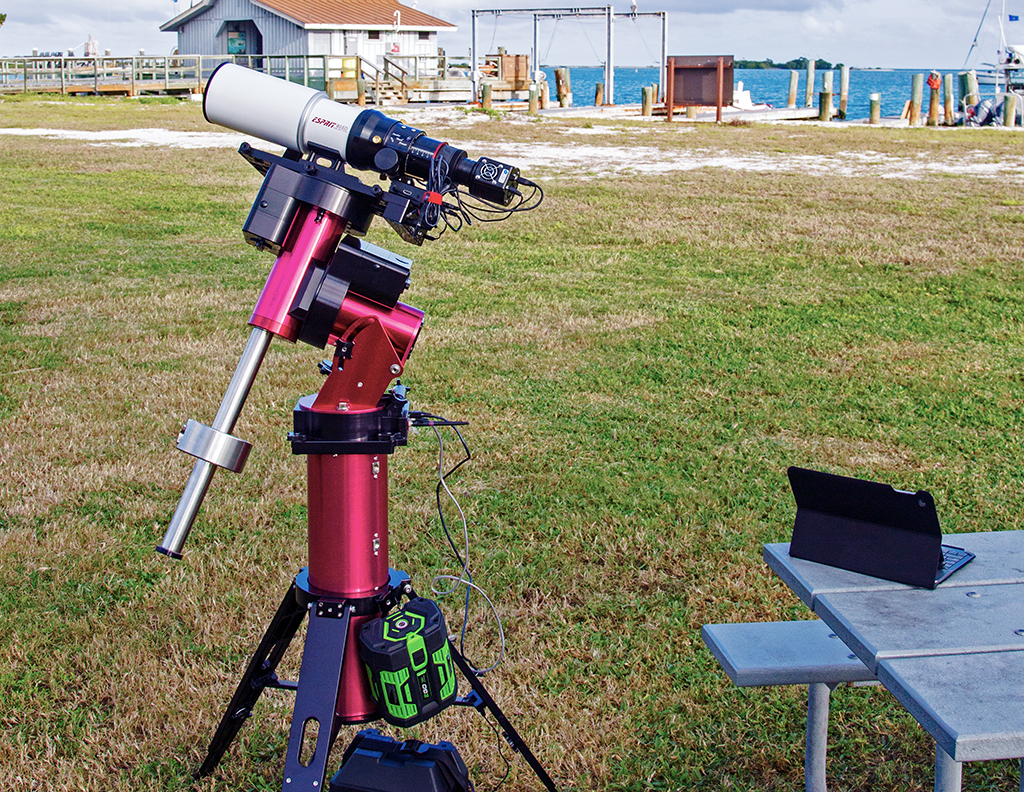
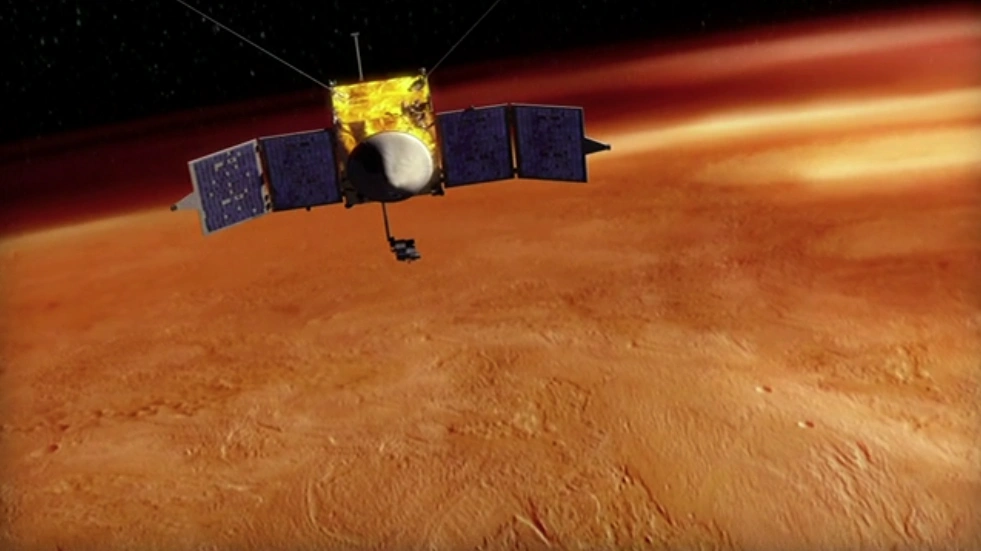
If you want even more image scale for deep-sky work, you're going to need a longer focal length, which means a telescope on a tracking mount designed for long-exposure astrophotography. Just like with a tripod, spare no expense on a high-quality telescope mount. The best optics, camera, or skills in the world will be for naught if you cannot track the sky accurately and smoothly.
Richard S. Wright Jr.
If you skipped the nightscape stage and are jumping right into using a telescope on a large tracking mount, it's best if you become familiar with how to use your telescope system and how to navigate the night sky. Polar alignment, celestial coordinates, and collimation are not trivial subjects, so mastering these first will save you a lot of headaches later.
Richard S. Wright Jr.
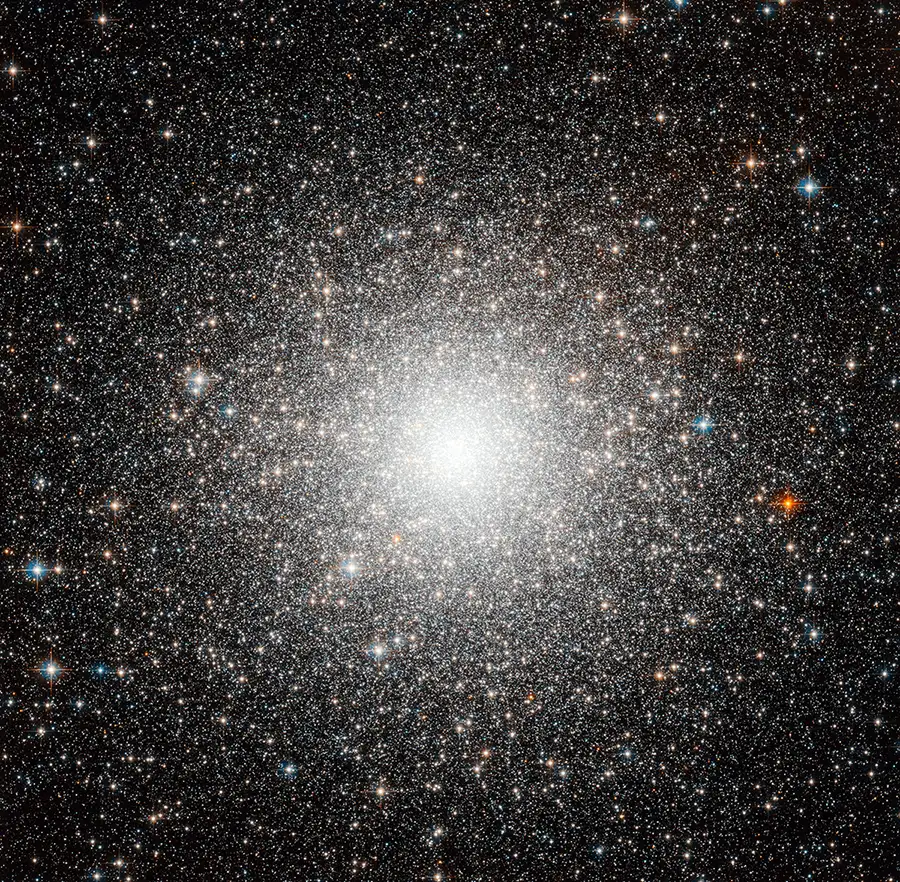
Regardless of your experience, deep-sky astrophotography is easier when you start with a small telescope that has a short focal length of around 400 mm to 600 mm. Focal ratio is virtually meaningless for visual astronomy, but in deep-sky astro-imaging a focal ratio of f/7 is good to start off with, though f/5 or f/4 are even better. The reason here is that short focal lengths are very forgiving, and you can obtain good results on your favorite objects quickly with a fast focal ratio lens than with a slow one.
The best beginner telescope for astrophotography in my opinion is a short small refractor, with an aperture of 80 mm to 100 mm, and a focal length of 600mm or less. A small refractor is portable, forgiving, and can deliver very high-contrast images without a lot of fuss beyond obtaining a good focus.
Richard S. Wright Jr.
Inch for inch, a very high quality refactor can't be beat. However, without breaking the bank, a small Newtonian reflector is a great compromise. Far less expensive, a good Newtonian reflector will outperform a midrange refractor of the same size. You will, however, need to master optical collimation (to precisely align its mirrors) or your images will be of poor quality. A must-have accessory for any Newtonian owner is a good collimating tool.
What about a camera? Putting a DSLR or mirrorless camera on the focuser of a telescope is perhaps the easiest entry point. Your next growth step after that is a cooled camera, either monochrome with a filter wheel or a one-shot color camera, like the one you may already be used to using but more sensitive. I think processing black-and-white images is far easier and still quite beautiful on its own, but if you're graduating from a DSLR/mirrorless camera, you already have the color workflow down.
Next month I'll talk about telescopes with long focal lengths and gear that's better suited for those who want to shoot the planets, the Moon, or even the Sun!
About Richard S. Wright Jr.
Contributing Editor Richard S. Wright Jr. is a software developer by profession specializing in computer graphics technologies at LunarG Inc. Richard is also a consulting engineer and imaging specialist for Software Bisque. A lifelong amateur astronomer, Richard first experimented with a webcam and black-and-white film images of the Moon in the 1990s, and he subsequently became hopelessly addicted to astrophotography. Currently, he seeks treatment at his dark sky camp/observatory in Okeechobee, Florida, whenever he can. Check out his online photo gallery.

Comments
You must be logged in to post a comment.