 1
1Don’t be intimidated by astrophotography equipment — modest equipment can do great things.
Although this is my 39th monthly Imaging Foundations blog, if you are interested in getting started in deep-sky astrophotography, this might be the very first installment you should read!
The spectrum of people entering the hobby of astrophotography span two extremes. A good number do as much as they can with minimum investment, often driven by economic realities. These people work hard to adopt good practices, learning to image with whatever gear they can get their hands on. These people are true believers in what they do and demonstrate time and again that the skill of the artist is often more important than the quality of their tools.
Richard S. Wright Jr.
At the other extreme are those who try to climb Mount Everest by buying a ride on a helicopter. Those who can afford it assemble the highest-quality imaging system they can buy — but they will have the same learning curve as anyone else. It doesn’t matter how good the gear is, we all start at the same skill level.
Both of these groups come in blind. They have the same misconceptions about deep-sky astrophotography and even make the same mistakes. Like any technical pursuit, astro-imaging takes some practice to master, and from the start you need to have realistic expectations of what can be done with your equipment. This is the same regardless of how much or how little you invest in your equipment.
Richard S. Wright Jr.
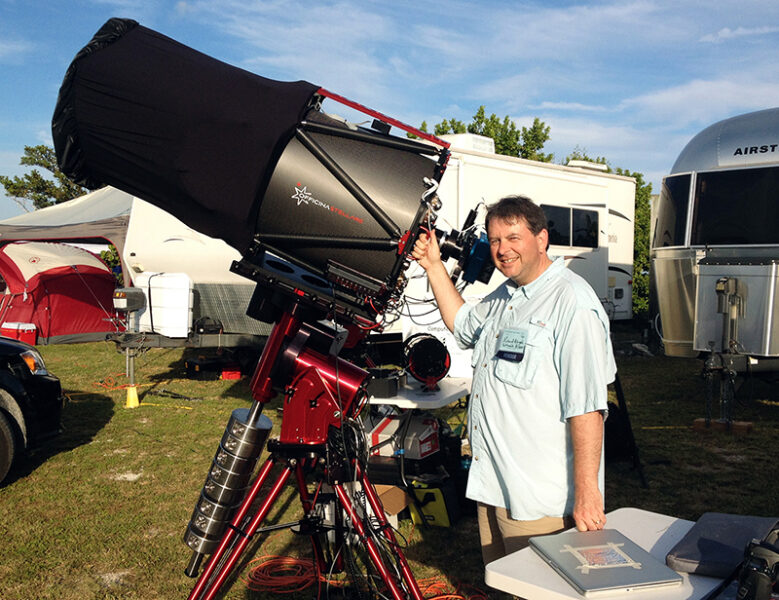
I've often encountered amateurs who buy the largest telescope they can afford right out of the gate. Yes, there's something quite satisfying about purchasing a large and impressive-looking telescope. But while a large telescope gathers more light than a smaller one, the larger instrument is harder to use.
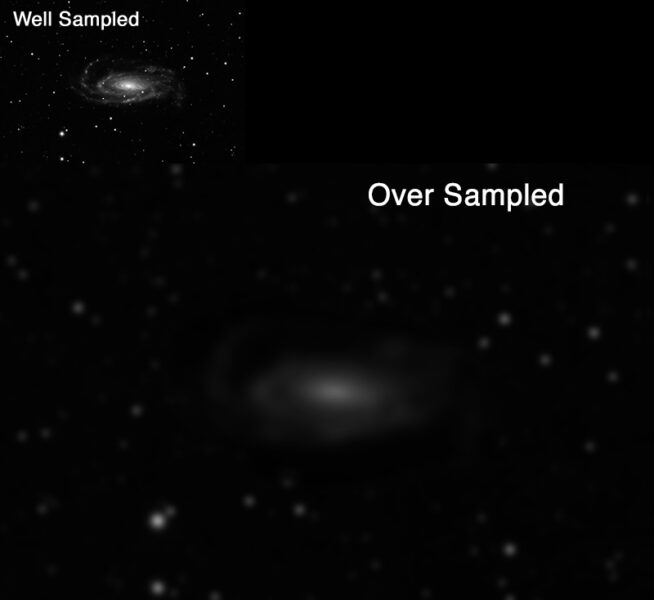
For one, it's heavier and harder to move around. More importantly, it places greater demands on your mount and imaging system. Large apertures and long focal lengths mean you need a camera with large pixels to avoid oversampling. The smallest errors in polar alignment, defects in mount mechanics, and other variables make accurate tracking with a large scope far more challenging. A modest, budget-minded mount can still perform quite well with a small telescope that has an equally modest focal length.
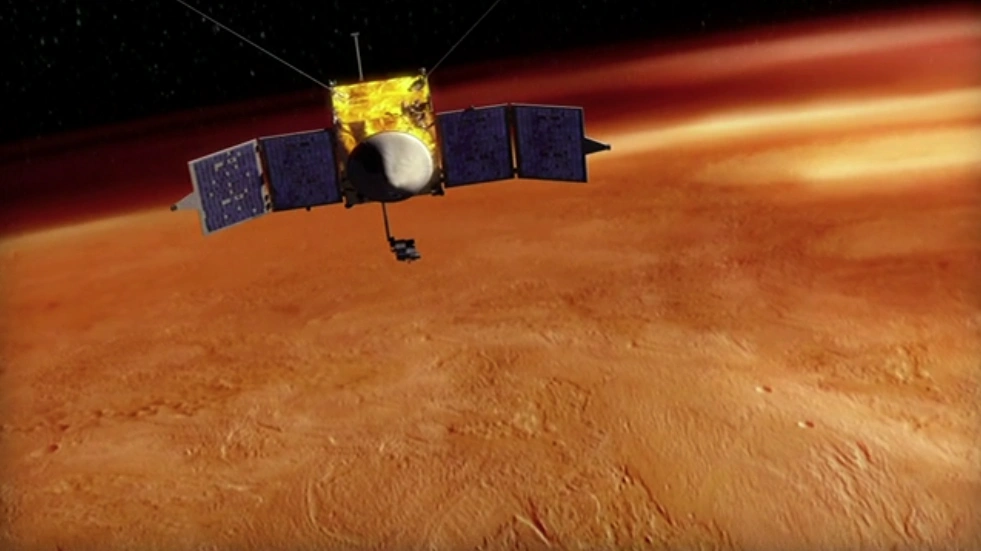
To put it another way, buying a large telescope to start out in astrophotography is like trying to swim the English Channel after one swimming lesson. You're simply going to drown. Long focal-length, deep-sky astrophotography (starting around 2,000 mm) is best done from outer space, or when you're well along the challenging learning curve.
There are many compact, long-focal-length telescopes on the market for visual observers (think Schmidt-Cassegrains and Maksutov-Cassegrains). For these telescopes, the eyepiece controls the magnification, as opposed to focal length alone with your camera placed at the focal point of the instrument. They are versatile systems for the visual crowd, and they can make great imaging scopes for lunar and planetary work when employing lucky imaging techniques with a high-speed camera.
Richard S. Wright Jr.
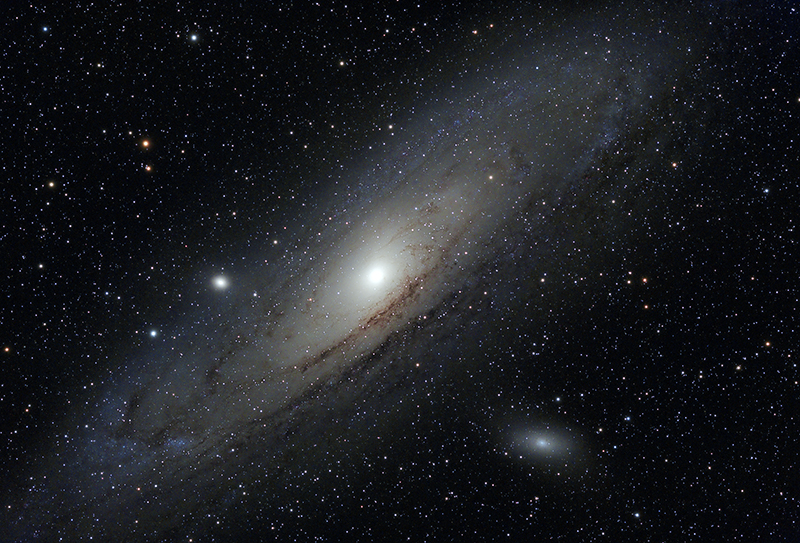
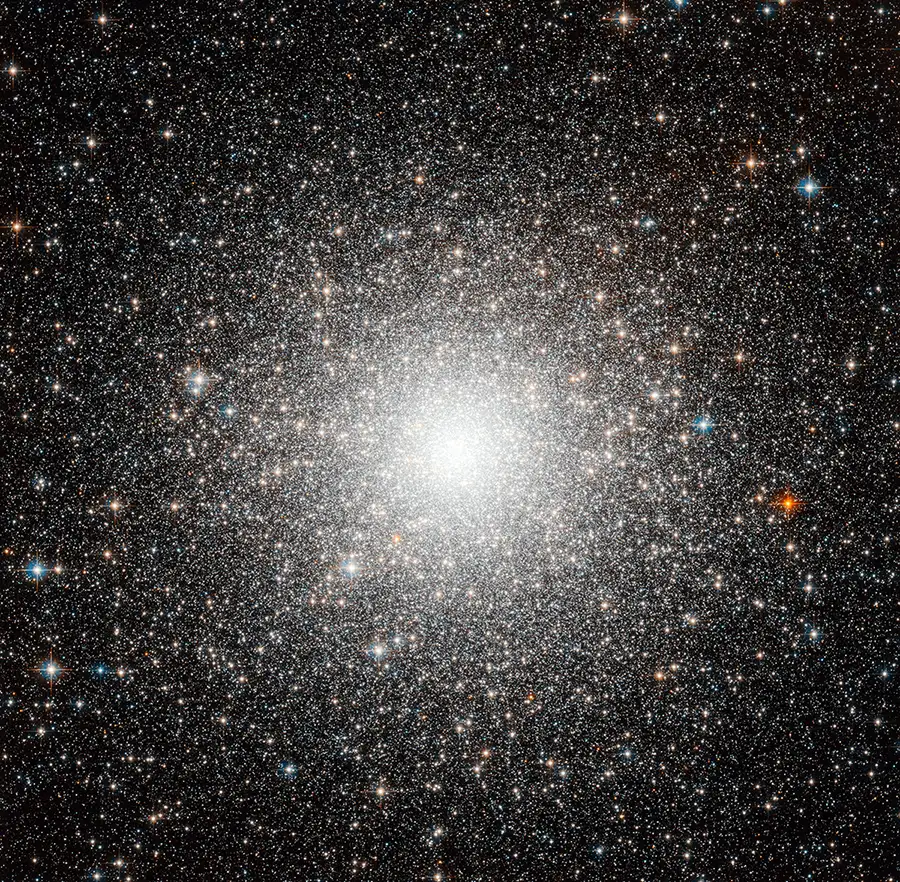
For deep-sky targets however, you can't just continue to magnify your image of the sky or use smaller pixels to get increasingly higher resolution and scale. Higher magnification spreads the light out, making for a much fainter signal that takes longer to properly expose. Most nebulae, star clusters, and a handful of nearby galaxies are all well within the reach of a backyard instruments with focal lengths of around 1,000 mm or less.
Not to mention, you can't beat the seeing for where you live. If you really want to take high-resolution images of very small galaxies, you need an exceptional location first. Exceptional equipment at a poor location is a waste of money that will only leave you frustrated with your new hobby.
Richard S. Wright Jr.
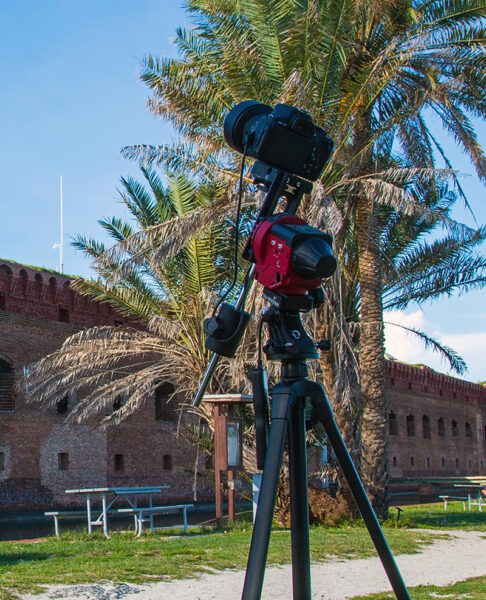
An ideal deep-sky imaging starter system is an 80-mm to 100-mm refractor. If you can afford it, buy the most expensive 80-mm apochromatic refractor you can find. Whatever you do, don't buy a giant reflecting telescope to start. That's like trying to learn to drive by entering the Daytona 500.
Slightly more challenging than a simple refractor would be a 6- or 8-inch reflector. A simple Newtonian with a coma corrector is a great choice no matter how experienced you ever become. Newtonians also offer one of the best “bang for the buck” trade-offs; however, unlike a refractor, they will require you to collimate the optics to get the best performance.
Be sure to invest in high-quality mount, too, as the most pristine optics and the best camera will do you little good if you can’t track the sky for any sufficient length of time. Don’t overmount either. Mounts designed for visual use can typically handle ¼ to ½ of the rated payload, but higher-end mounts designed specifically for imaging can be trusted in regard to their rated capacity.
Richard S. Wright Jr.
I really think beginners should avoid autoguiding, at least when starting out. Autoguiding is tricky to learn and master, while you can simply shoot and stack many shorter exposures with today's low-noise cameras. Practice getting your polar alignment as accurate as you can and see how long you can go without guiding before deciding that autoguiding is something you really have to do.
Finally, in terms of a camera, pick your scope and camera to go together, and avoid oversampling your images. Tiny pixels work better with short focal lengths and fast focal ratios. I always recommend starting with monochrome imaging, without color filters, as color processing is a whole other skill set to learn. That said, if you want a color image and have a DSLR already, use that, as you're more than likely already familiar with it. The next step up would be a cooled color camera, which will greatly improve image quality.
Follow these tips, and you'll come away with pretty good shots right out of the gate, maybe eventually graduating into one of those larger telescopes. But it really helps to work through the learning curve on a simpler setup.
About Richard S. Wright Jr.
Contributing Editor Richard S. Wright Jr. is a software developer by profession specializing in computer graphics technologies at LunarG Inc. Richard is also a consulting engineer and imaging specialist for Software Bisque. A lifelong amateur astronomer, Richard first experimented with a webcam and black-and-white film images of the Moon in the 1990s, and he subsequently became hopelessly addicted to astrophotography. Currently, he seeks treatment at his dark sky camp/observatory in Okeechobee, Florida, whenever he can. Check out his online photo gallery.


Comments
jdw1953
March 30, 2021 at 11:26 am
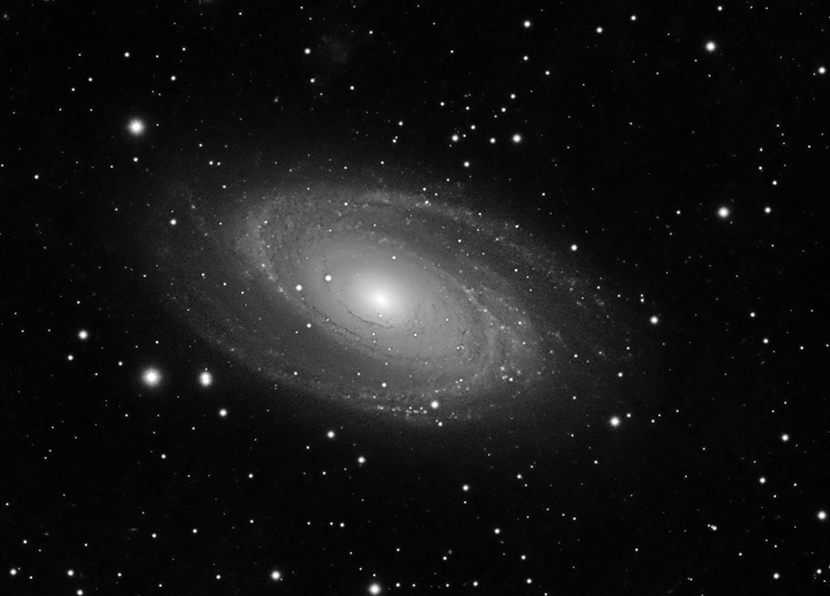
I totally agree with tips given here! My location is poor but I still like to practice my skill in getting my star tracker system with DSLR 150-600 lens to actually point at something that is so faint I can't even see in finder scope (Bode's galaxy for example, M81). Even if a totally rotten picture results because of my poor conditions it improves my capability to better target and maybe get a nice picture some day if I travel to an exceptional location.
I love using the software provided by Stellarium.org as I can have a laptop next to my system with it's software showing me all the faint stars I can't see under poor conditions. With that as reference I can be pointed in general region of my target and identify the star pattern from a 30 second (shutter open) and then know what directional change in my camera lens I need to make to get even closer. This process however can take a while and I think that all the RA/Dec, HA/Dec, Az/Alt numbers listed by Stellarium for a specific object at a specific time of night can be translated to the angles I can measure using cheap a digital readout level placed on the counterweight rod and on the barrel of my telephoto lens. These are the 2 axis angles (relative to horizontal) that get changed when you manually point at something like a bright star (after polar alignment). My next project to figure out the math and see how close I can get to target on first try by just setting counterweight rod and lens angle as discussed above.
You must be logged in to post a comment.
You must be logged in to post a comment.